Major Prodject
Brief: Create a short film with a Nordic surreal environment look, the main focus will be environment design in Unreal Engine and digital compositing in After Effects/Nuke.
Response to Brief:
Idea 1: I will create a Nordic environment were the camera will move through the environment for about 30 seconds in 5 different shots, some close up and some far away. For example, I will start a close up on some water drips on some stones, then I will slowly move through the environment, perhaps move through a waterfall, then I will slowly show a cold and dark Nordic place. The weather will suddenly change from rain to sun/dusk to sunrise. The whole film is a story of a light/spirit who is traveling through the environment.
I will play around with the lighting, shadows, colour correction, brush tool, depth of field.
For this, I need to find shots, pictures, assets or other elements to create this environment. The whole environment will be created in Nuke
Idea 2: I will create an established shot with a surreal environment (if a got time the camera will move through the environment). This will be something familiar with the movie Annihilation. The main focus in the shot is their is something weird or unwell feeling in the scene. Even the timing will perhaps be reverse or some elements in the scene will be in slow motion. The main focus will be to design an environment in Unreal Engine and have my own 3D scans.


Major Project
I decided to develop my second idea.
Idea 2: I will create an established shot with a surreal environment (if a got time the camera will move through the environment). This will be something familiar with the movie Annihilation. The main focus in the shot is their is something weird or unwell feeling in the scene. Even the timing will perhaps be reverse or some elements in the scene will be in slow motion. The main focus will be to design an environment in Unreal Engine and have my own 3D scans.
The environment will be inside a cold cave. My idea is to start to film outside the cave and then inside of the cave to get an overlook over the environment, the camera will have a small rotation. You can not tell what is up and what is down. The camera will catch something absurd the hero object/weird/glowing/in the scene. The camera will also have a close up at some dripping water or a river (in reverse or slow motion).
Camera will zoom in on different objects (like a path with breadcrumbs) and we can see flowers, backpack, shoes, skeleton and bones inside the cave.
This is what I will do:
- I will create the hero object in Maya by using Bifrost.
- 3D Skanner from app store to scan some objects
- Unreal Engine to create the environment
- Finally, I will put everything together in After Effects, for grading and final touches.
References


Moodboard
AI generated pictures from Lexica.


Colour palette

Storyboard


- My backpack
- Cave/hiking equipment
- Hiking shoes
- Stones
- Ground
- Bones
- Flowers
Megascans from Quixel and Marketplace:
Megascans – Iceland Vol. 3

 temperate Vegetation: Foliage Collection

Rural Australia

Temperate Vegetation: Fern Collection

3D plant – LESSER PERIWINKLE
Environment process in Unreal Engine
For my major project I decided that I wanted to learn Unreal Engine. I have never tried unreal Engine before, so I challenge myself to try to learn it. I watched some parts in the Unreal Engine 5 Beginner Tutorial and learned a bunch of stuff that was relevant for my project.
Since my project environment inside a cave, I also watched a good tutorial of a guy who created a sandy cave, Unreal Engine 5 environment design tutorial by Magnet VFX.
First thing I did was to create a empty level inside Unreal Engine. I got inside env. Light Mixer and created a sky light, atmospheric light, sky atmospheric and height fog. Then I putted on the volumetric fog inside exponential high fog. Then I created a landscape and started blocking my cave.
I downloaded Rural Australian, temperature Vegetation, interactive Open World Foliage and Icelandic Collections plugin from Unreal Engine Marketplace. I also find some megascans from Icelandic Vol. 3. Then I started to block the scene. I used the foliage tool to randomly place flower, bones and stones around and inside my cave. To create water inside the cave I used a plane and texture it with a water plugin from Rural Australian.


I played a lot with the lighting and volumetric to create a more mysterious and scary scenario. I also placed some cameras and tried to find some good camera movements. I tried panning, zooming and a camera spin. I also played around with the focus tool inside the camera to create depth of feel.


I used Maya to create an abstract ring and Bifrost to make a particle/strand animation. The idea is to create a black hole who will be the centrum of all destruction and change of the environment.
The first thing I did was to change the settings, 25 FPS.
I created a null object and a basic cylinder with 100 cm radius, 1100 cm height, 20 high segments and 3 rotation segments. Then I twisted it and bended it. I had my cylinder selected and used a deformer called twist and hold in shift for it to become a child of my cylinder. I twisted it 360 degrees in the angle. Again I selected my cylinder, hold in shift and used a deformer called bend. It is imported to have the twist above the bend in the hierarchy. That way it will affect it after the twist. I made the strength of this bend 360 degrees as well.
To do that I had to adjust my hierarchy, cylinder, twist and then bend underneath. So that everything will be a child of the null. In that way we can animate out cylinder without affecting the two deformers. I created an expression in rotation Y on the cylinder (cylinder Y = time * 50), since I wanted to animation to loop.
Then I wanted to clone some geometry across the surface to make it cool. I used Mash to create a cloner. I brought in a sphere and change the radius and made it a little bit smaller.
I change the mode from liner to object and drag the cylinder into the object section. I change the distribution from linear to mesh. Also I change the method from scatter to vortex. Then putted on flood mesh, so the hole mash is covered in small spheres.


I imported the mash from Maya to Unreal Engine. I texture it inside Unreal Engine. I change the material to glass to make it transparent. The goal was to make it have an unpleasant appearance.
Since I already was pretty happy with my abstract ring, I still wanted to do some more. I decided I wanted to create something inside Bifrost in Maya.
I watch Jasons video from environment FX module to get a recap from our lessons. Then I created a orb with strands and particle animation inside Bifrost.


Playblast in Maya


Timetable

 My backpack
Stone in a park
Big Stone by sneaamann on Sketchfab
 Flower
 Flower
FlowerScan by sneaamann on Sketchfab
 Mud with footprints
 Another mud with footprints
 Tree trunk
 Hiking shoes
 Flashlight
 Dog leash
 Dog bone
Playblast
Nuke
I decided I wanted to work inside Nuke as well. I find a stock image of a water drop. I used Roto to water drop for my liking. I also used Grade and Saturation to colour correct the water drop to match it with the background. Then I used a Transform node to scale and move the water drop. I used Blur to blur the background and make the water drop more in focus and create a of depth of feel. Then I used a merge node (overlay) to merge the water drop over the background. At last I did some small adjustments. 


After looking through my video a couple of times, I realize that every single shot looks good on their own but not as one story. I started to put more attention to the storytelling and did some changes to make a red thread throughout the story and also build up the tension at the end.
Changes I need to fix:
- Make the scene darker and darker
- Make a rope in the cave or something that will lead the audience
- Fix the story telling
- Red thread through the story, breadcrumbs
- Fix the fire expression for the bonfire
- Play around with the camera, defocus
Draft 4
Changes I need to fix:
- Render every scene again
- Flame expression
- Render scene one and two again
Draft 5
Changes I need to fix:
- Make the black hole clearer, nuclear energy, force, fire melting
- Fix the middle part in the story or the order
- Remove “For” three days ago -> Three days ago
- Fix the flame animation
- Test the particle system in Unreal Engine, Niagara
Draft 6
Changes I need to fix:
- Find a picture of a mother and daughter or a family photo, might use the AI generator in Lexica.
- Make the black cut longer, perhaps 3 sec long.
Next, I used an AI generator to create a family of a mother and daughter. The website I used was Lexica.art. Then I used photoshop to grade the colours and create a more black and white look.
After that, I added the picture on a 3D plane inside UE. I also texture it to look more glossy and more like a picture print.
Niagara Particle System in Unreal Engine
Since I had problems with exporting the bifrost file to UE, I had to make a hard decision. Instead of using a lot of time to figure out why exporting did work, I started to learn Niagara Particle System in UE.
Before I jumped inside Niagara Particles, I watched a lot of tutorials on YouTube to try to learn the basics has fast has possible.
First I made a new Niagara particle system and then I picked Hanging Particles. Then I made a new material with is going to be the particles. I opened the new Niagara particle system that I just created. I deleted the Sprite render, Scale and Drag, and everything that I did not need. I only have Particle State, Wind force and Solve Forces and Velocity left. Then I right clicked on the render and made a Mech render. I changed the meshes to spheres and Faceing Mode to Velocity. Then in the Particles settings I changed the mech scale in mech Attribute from Unset to Uniform. I clicked on a arrow down and selected Float from Curve. I change the Key data from 1.0 to 0.15. In that way the particles will slowly getting smaller and die.
Next I started to add some forces to the particle to make it more interesting. I used Drag and change it to 10. Then I change the windforce, the turbulence to none, wind speed to 25 and X to 25 as well, so it will move in one direction. Next I added a Point attraction Force. I would like that effect to give an effect so I changed the Attraction Radius to 4500. Then I added a Gravity Force. Then I pop in a Vortex Force to get some spin, change the Force Mount to 500 and Z to 50. The got back to Drag an toked out rational drag.
The next ting I did was to add a Curl Noise Force, changed the strength to 7000 and Z to 0.5. Now the Particles are spinning. Then I change the spawn rate to 500 in the particle setting. I also added another Curl Noice Force to create more chaos. Since the particle had to much movement and it was to big for my project, I had to change the setting to match my scene. I adapt and played around with the setting. One thing I did was to divided everything with 10 and tried to workout a movement for my particles. Then I find something that I liked and was satisficed with the look.


Then I clicked on the material that I just created. I created a constant with 3 values and made a color for my liking. Created a Multiply, another constant with a Value of 1.0. plugged the Multiply in Emissive Colour. 

Draft 7
Changes I need to fix:
- Find a lamp or flashlight instead and replace it with the bonfire
- Change the order of the shots
- Make the outside brighter since it is a little to dark and hard to see the elements in the scene
- Defocused the background in shot 2, fix it in Nuke
- Change the stock image, find something that is more splashy and realistic, less blobby
- Change the camera movement in shot 4
The camera movement in shot 4 look kind of off. Like it was going the wrong direction. Then I started to change the camera movement. I made the camera going in instead of going out. It also made it clearer for the story that we are going deeper inside the cave.
Draft 8
The I find a new water stock video. I find another stock image from YouTube and it was more splashy and realistic than my previously stock footage.
https://www.youtube.com/watch?v=qbMTeUQtEdI


I change the torch/bonfire light to a flashlight. I put the 3d scanned flashlight in the scene so we can clearly see the light source.


After Effects
I put everything together in After Effects. I did the colour correction and grading inside After Effects. I used Lumetri Color to change the black and whites and played around with the colour setting. First I tried to make every single shot matching each other. Then I made an adjustment-layer for the overall look and colour grade I wanted for my film. 


Draft 9
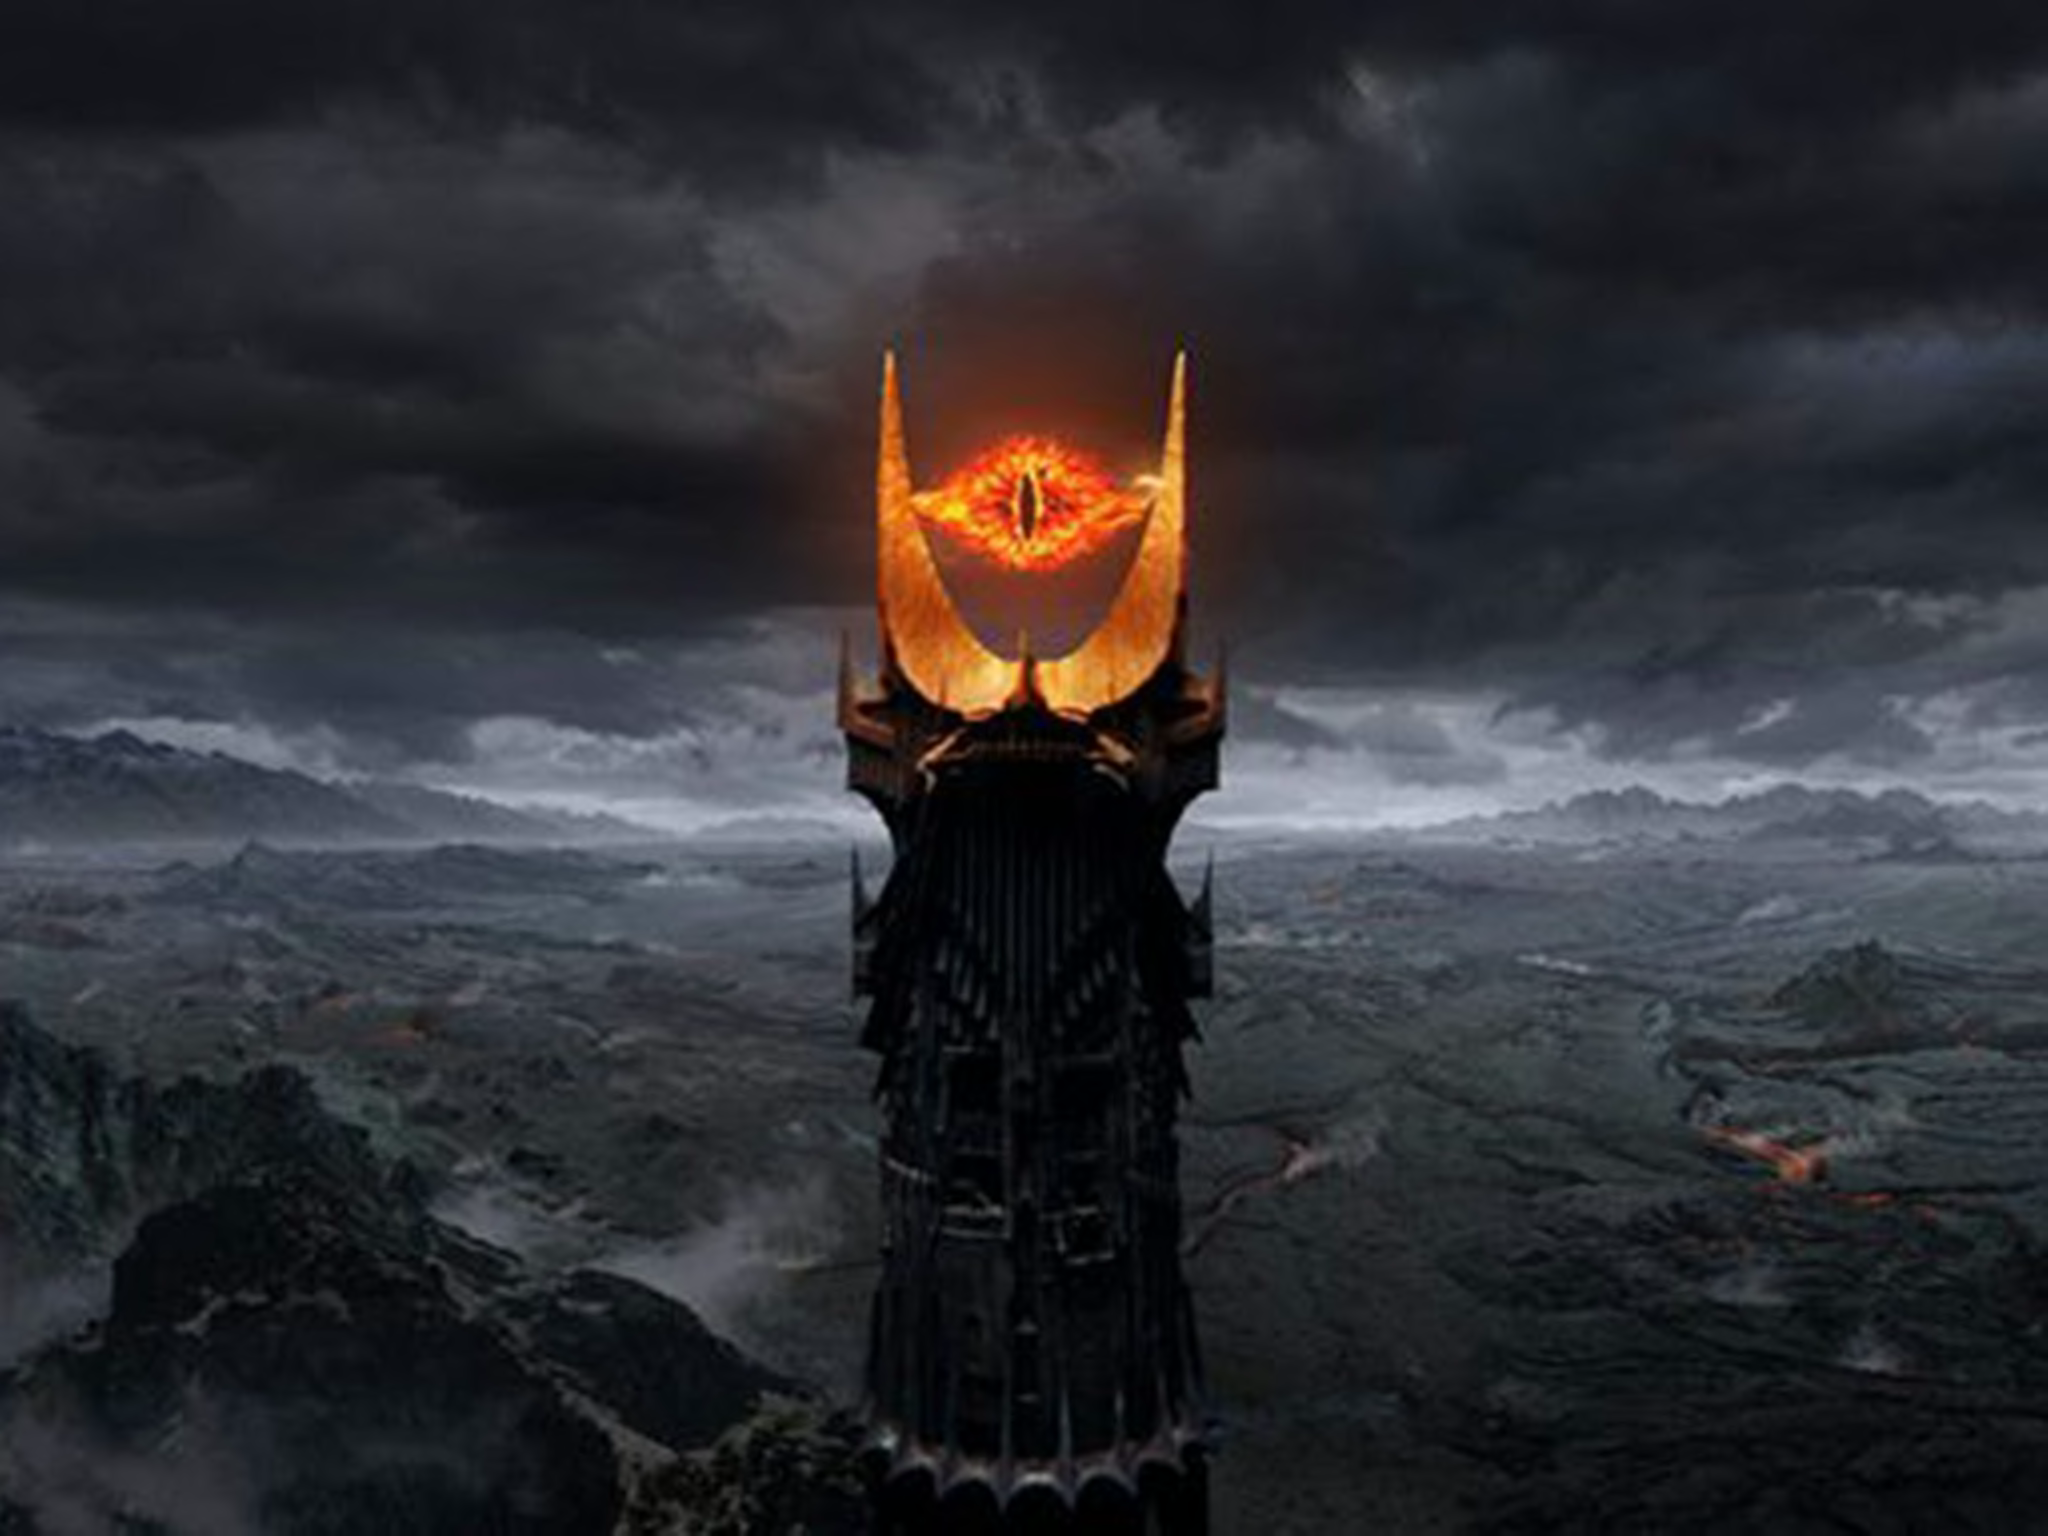
I change the shape of the middle part of the black hole. It was to round and looed to kind. I change it to a narrow and cat eye look. I got inspiration from the Eye of Sauron in Lord of the Rings.
 What I did was to create another Niagara Particle system with the same animation I already had, increased the amount of particle. I also change the speed of the particles, when they got closer to the black hole they will get faster. Like it gets drag into the black hole. I used Drag, Vortex Force and Wind Force.
Draft 10
I change the order and removed some clip. When I change the order, the film got more buildup and intense.
I was still not satisfied with the look of the black hole. I decided I wanted to bring back the Bifrost sphere I created inside Maya. I render it inside Maya as a sequence and imported it inside After Effects. I created a overlay and made a mask around the sphere. I changed the lighting for the black hole and an animation from blue light to red. The black hole looked to kind and harmless and innocent, so I gave it a feeling of getting mad or evil.
Draft 11
I added another shot (shot 3). I wanted more of my own 3D scans and breadcrumbs, so I scanned a dog leash which looked like a rope.
Draft 12
Final video with sound
Breakdown