Introduction to 3D Animation, the bouncing ball
While using Maya, there are multiple components to animate a bouncing ball:
- Keyframes
- Playback control
- Motion (FPS control)
- Weight
- Timing
- Trajectory
- Characteristics e.g. squash & stretch
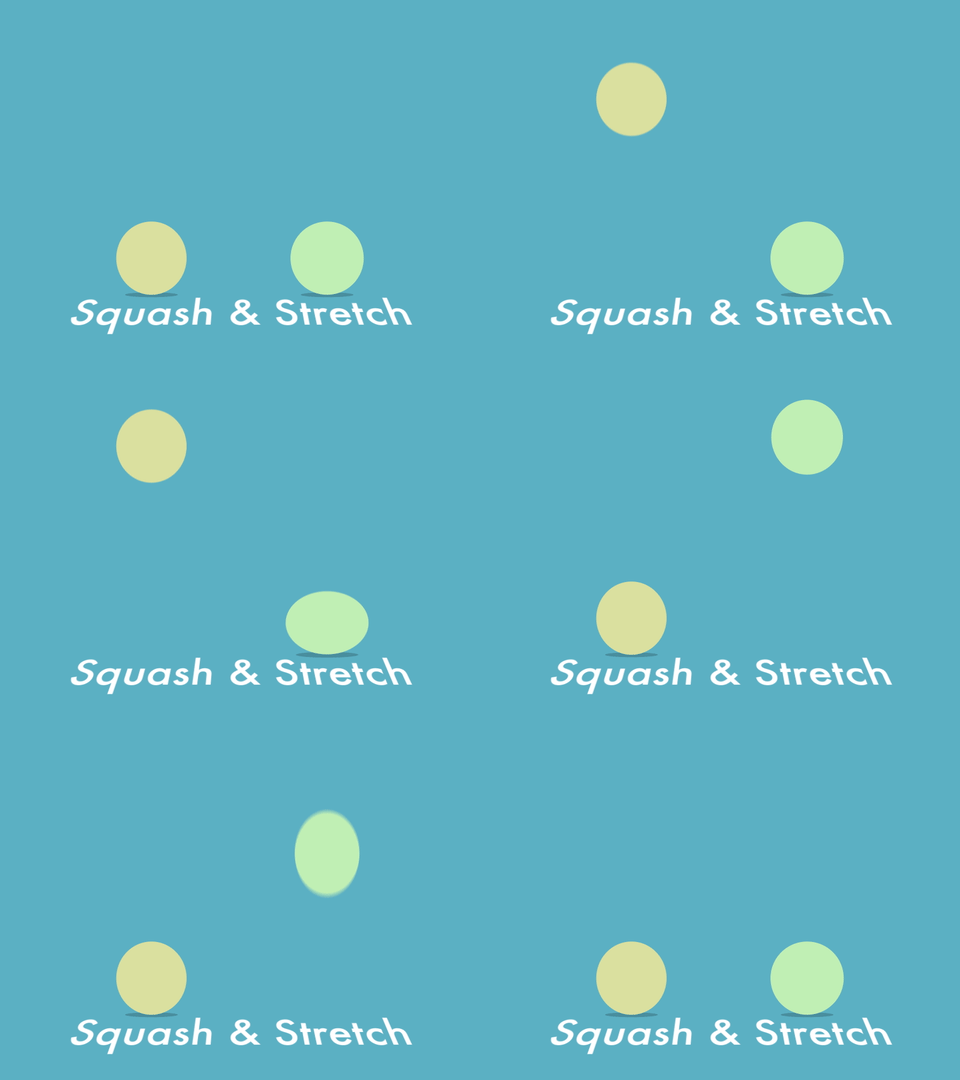
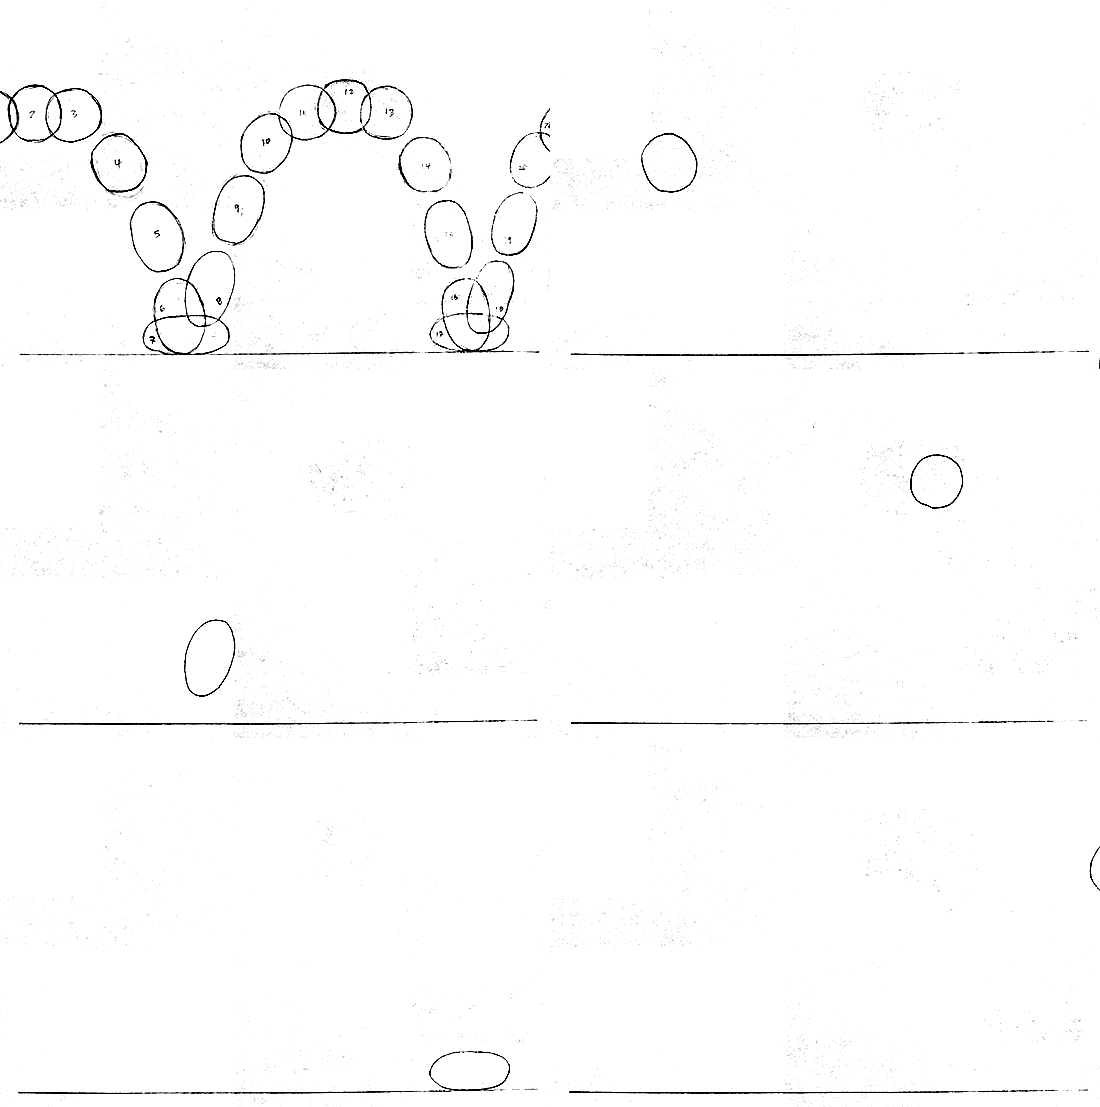
Examples in media
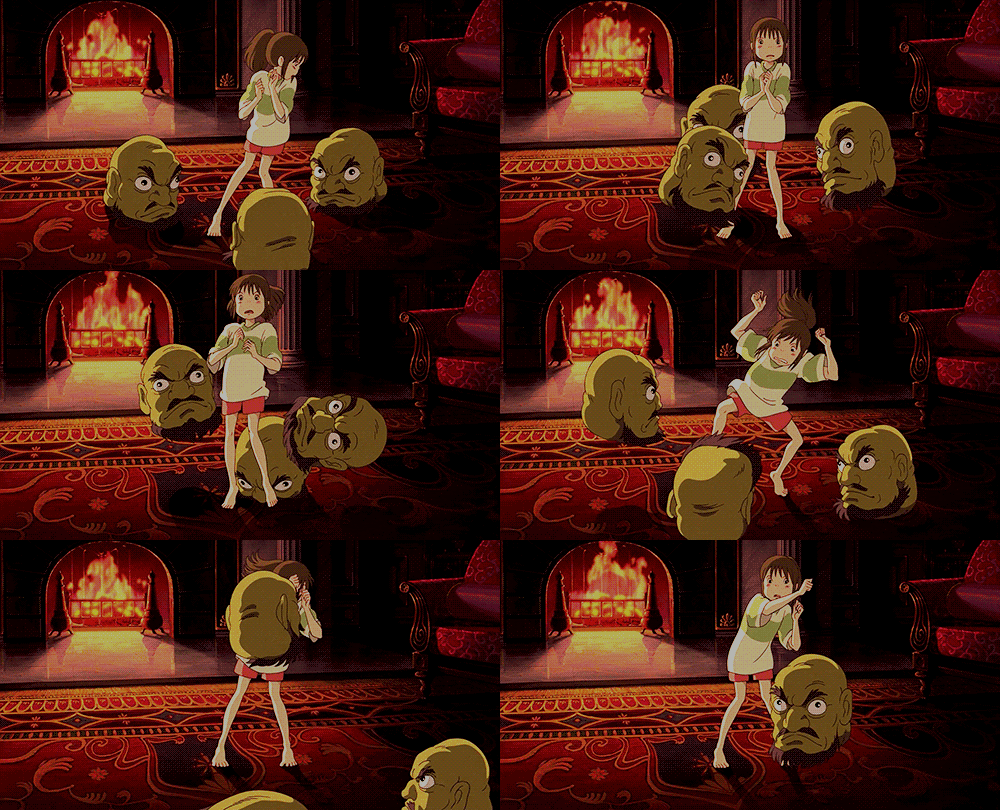
Studio Ghibli’s Spirited Away, Hayao Miyazaki
Pokémon
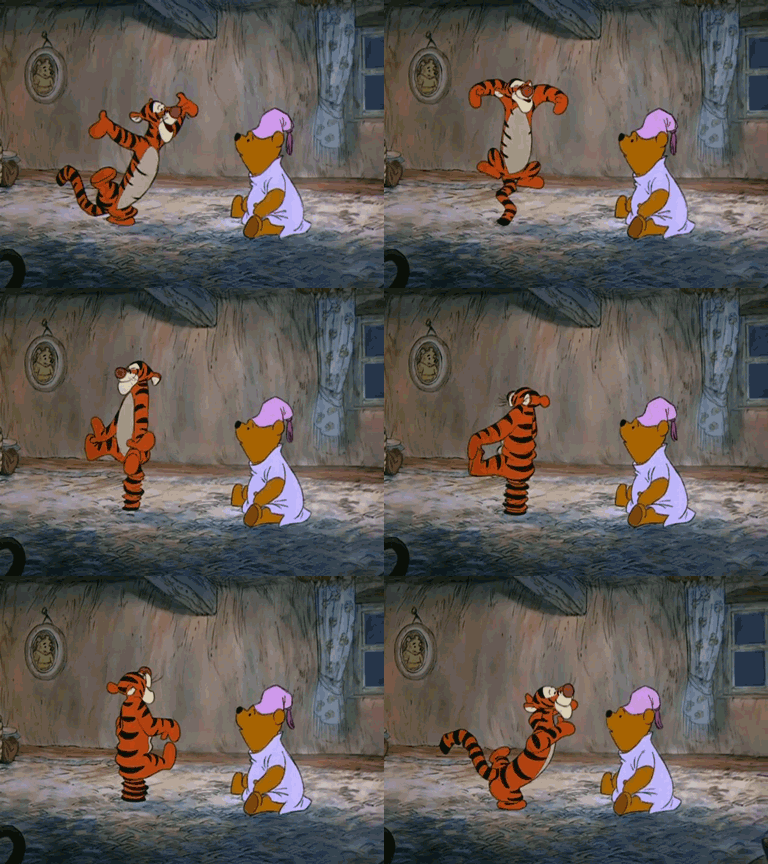
Disney’s Winnie the Pooh
Parameters for my bouncing ball

X-Axis

Y-Axis
Week 2 – The Obstacle Course
As we’ve now familiarised with the basic parameters and tools to make a bouncing ball, we challenge ourselves to make an obstacle course.
With this multi-platform course gradually descending, I can now attempt to make the ball bounce sideways, tampering with the Z-axis parameters to manipulate the ball going sideways, which was initially a bit of a challenge since the key frames were different to the X and Y axis.

Parameters

Week 3 – Lattice deformer, ‘Sack of flour’ and Arm Rig
A more complex way in utilising the rig tool, this time in the form of a floursack. Similar to the ball, there are also multiple parameters such as scale and position to alter in these specific points e.g. the corners and the sack, applying the squash and stretch technique, making it look more animated.
Now onto the arm and hand rig, while constructing the individual fingers and arm pivot, we must use the parent tool and reposition the pivot for the group of pivots starting from the fingers, down to the arm. Before that, we must also freeze tranforming on this models to prevent any shape shifting while tampering the position and rotation tool.
Week 4 – Inverse Kinematics | Animation Output
Arm Rig
I tried out a mood lighitng to showcase the ‘thwip’ motion from Spider-Man, the most challenging part was the fingers not clipping through the hand as they fold to make the ‘thwip’ motion.
Leg Rig
After completing the animation, I’ve added some simple aiStandardSurface, a glass as a base reflecting off a blood material on the model. Key framing the jump off point and how it lands were equally crucial because of how much keyframes you’ll need inbetween. I realised the I could’ve made the leg float a bit more mid-air to add more weight to the landing.
Week 5 – Posing and ‘Head Turn’
Today we are brought to a body rig. This ‘Eleven’ rig showcased numerous parameters for the not just the body to move, but to also articulate the pivot points.
- Default rig stance
- A quick attempt to posing and emoting next to a big box

Normal idle stance, happy mood

Walking, sad mood
Week 6 – Walk

By following Richard Williams’ method of posing while walking, we can now know that frames it takes for the walking to flow naturally.

After keyframing the walking movement, I then looped it via the editor. So now the walking distance has doubled with an almost seamless transition.
Week 8/9 – Animation Reference & Rotoscoping | Ball Kick / Box Lift | Industry Roles (Character Art & Animation)
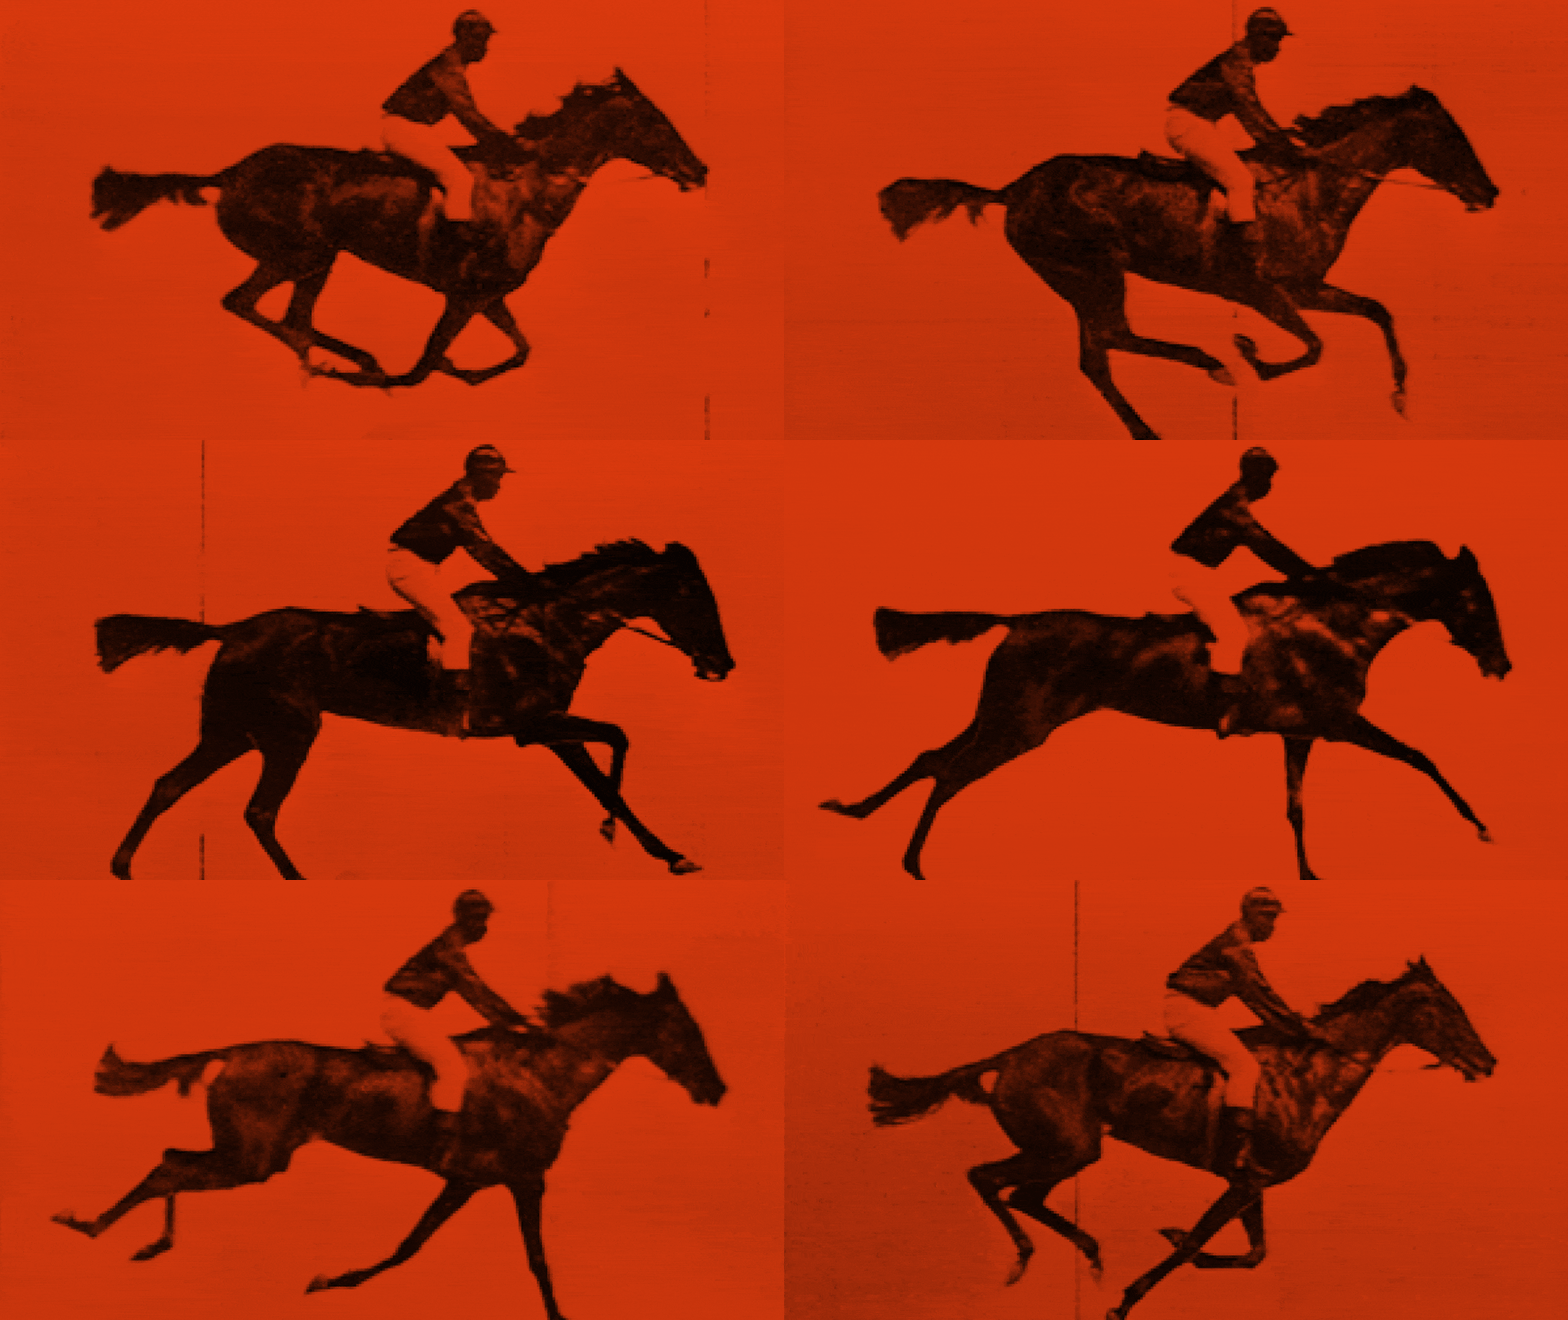
Eadweard Muybridge
Muybridge pioneered in extracting the motion sequence from a photograph by developing the zoopraxiscope in 1879, projecting pictures in motion.
This lead to his publishing of “Animal Locomotion: An Electro-Photographic Investigation of Connective Phases of Animal Movements.” in 1887, showcasing a new and extensive understanding of animal movement and biology with a large collection of image sequences.

Jordan Peele’s Nope (2022) relies on ‘the horse in motion’ that drives the narrative
Disney soon took the idea of rotoscoping and applied it to its own animation
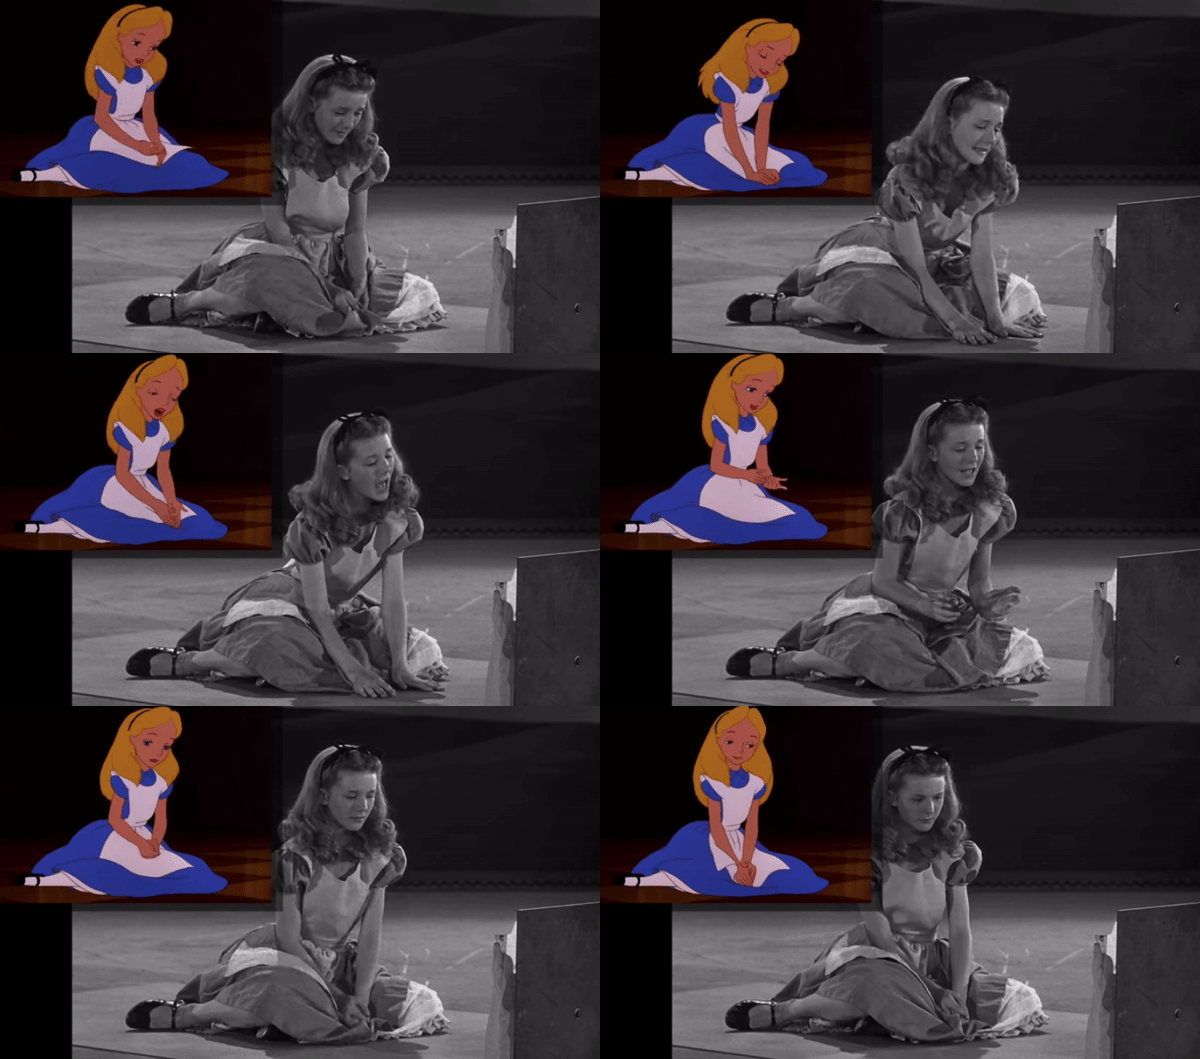
Alice in Wonderland (1951)

By having an animation reference in the background, we can take pressure off the key-framing aspect of rigging this model.


Without going into the textures or lighting for the rig, I purely wanted to just try get the lifting animation right, my frame rate isn’t matching the speed for the rig to lift up the box. But I’m happy with things like the box aligning with the hands for the most part and also how the knees bend outwards for the box to space to come up.
Week 10 – Jump
Week 11 – Camera & Shot Sequencing
Week 12 – Lip-sync/A3
For my lip-sync assignment, I’ve taken a simple, subtly acted but emotional performance from Rutger Hauer’s famous ‘Like tears in rain’ dialogue as the rogue replicant Roy Batty from Ridley Scott’s Blade Runner (1982).
Instead of a lot of emoting, his performance focuses on the facial expression such as feeling a stitch from his wound or side-eye gazing. This is give me more time on the facial expressions rather than his body movement.
Emotions
To also change up the appearance of the model to resemble Rutger Hauer’s style in hair and skin tone, I replaced the face and ears to a skin preset from AiStandardSurface and the hair to transparent white plastic so the light from the background could shine thru that will give off slight Cyberpunk vibes, I will add grain later via After Effects.
- Sad/empty
- Hopeful
- Distress
Playblast test
Final Version
After rendering out 270 frames of this animation, I took the images into a JPEG sequence and added some effects such as rain comp from Production Crate and chromatic abbreration to enhance the cyberpunk-like mood.


