Week 1
Brief:
-Mountains
-Air port/Futuristic base
-Plane/spaceships
-Silhouettes
-Castle on the Mountain
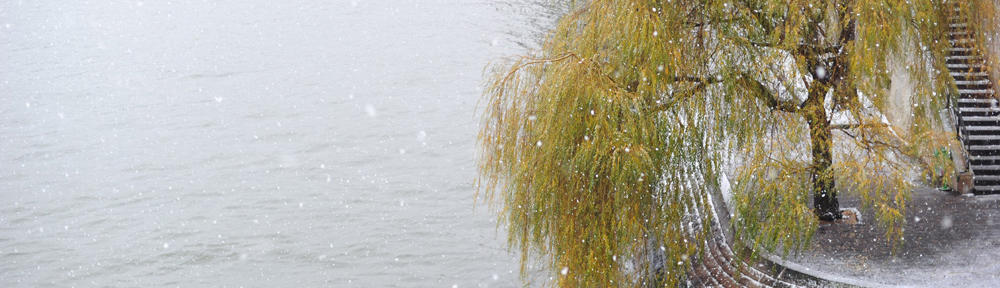
Examples of my shoots I have done this Summer in Spain Mallorca. The idea is top use one of the presented shots and combine with the ideas below. By using colo9r wheel picker I found and matched some colors I’m interested to use for edit.


Source: Color wheel, a color palette generator | Adobe Color
- Skyfall Matte Painting
Main background examples:


Elements:


Futuristic Air Port inspirations:

2. Blade Runner ideas:


3.


1. Taks Week 1
For my first weekly task, I harnessed images taken during my Mallorca visit, seamlessly integrating them into Photoshop’s versatile workspace. Employing advanced masking techniques, I meticulously isolated specific regions of interest within each image. This meticulous process facilitated the creation of distinct layers, each dedicated to showcasing a unique object or scene, impeccably aligned with the visual cues depicted in the provided screenshots.


In the final stages, I applied nuanced adjustments to selectively saturate warm tones, meticulously fine-tuning each layer to achieve a seamless integration. This not only accentuated the vibrancy of individual elements but also harmonized the overall color scheme across the entire composition. The result is a visually captivating synthesis of Mallorca’s essence, skillfully brought to life through precise layering and color manipulation in Adobe Photoshop.
Pictures used:


Final:


Week 2
Frankenstein Brief:
Idea 1
Engaging in my initial assessment, I’ve selected Unreal Engine as the medium for my project—a meticulously designed depiction of an abandoned mountain residence with an attached garage. Commencing in Maya, my primary focus is precise garage modeling, with particular emphasis on detail.
The foundational step involves exacting UV mapping in Maya to establish the groundwork for subsequent texture application in Substance Painter. Within Substance Painter, I cultivate a weathered aesthetic, incorporating elements such as peeling paint, rust, and leaves on doors and gates. The desolate atmosphere is enhanced through strategically placed trees.
To introduce a captivating visual dimension, I incorporate an energy field with particle effects. To conclude the narrative, a carefully designed jeep is seamlessly integrated next to the garage, serving as a focal point to evoke curiosity about the abandoned scenario. This project not only showcases my 3D modeling proficiency but also underscores my capacity to craft immersive environments within the Unreal Engine framework.


Idea 2
Second Idea For my second assignment, I intend to create a 16th-century environment within the Unreal Engine. This entails the integration of realistic candlelight effects and the inclusion of antiquated tomes to curate an atmospheric scary experience.
Example of some inspirations:


Idea 3:

Frankenstein Breif
Idea 1:
Fo my idea I choose to create abandoned garage in the mountain Environment. Firstly I used software called gaya to create terrain:

Thsi screen below presents how I connected specyfic node to create the Environment for my scene.
Later I modelled garage in Maya and work on UVs to bring later to Substance Painter and paint the details.
Creating doors and the windows.
Creating UVs for seperate parts name them and then in Uv shelve section rotate 90 degrese and place Uvs in proper positions:
Move and sue rooftop edges to connect Uvs:


Selecting specyfic materials and make dirt and dust on selected objects:

Painted garage with dirt and rust:

Creating layers for landscape material.

Creating landscape material instance.

Painted entire terrain.


Bringd Camera actor to sequence level.
Final Test:
ASSESSMENT 1


Video:
Wall-E Brief Ideas:
Environment:
For the background I choose to use either snowy or desert. 


Main Assets:
I found some example of portal I would like to add to the scene.


I would like to create some simple spaceship. Perhaps in Houdini and later designed it into the scene. I choose sphere shape as It will be interesting with composition and divided into parts spread out over the ground.

Fire Effects
Project 2
Week 1 Preparing:
Creating environment by using Gaea. By using free version of software Gaea I create terrain by connecting few nodes and play with settings presented below:


Assets:
I found some interesting megascans assets. By creating this I’m inspired by Canyons of Utah in USA. Below are some examples of plants, textures and some models to use in my scene.


Inspirations:


Houdini Scripting:


Houdini :
Project Week 2:
Firstly I made textures for my landscape. Byt using blending mode I connected node as presented below. By adding tilling and ad texture samples I created 8 layers and later I painte entire terrian 


By using a base 8 layers mixing them play with tiling and paint in some specyfic areas to make realistic landscape. 
Potencial final scene look:
Frame 1

Final Frame:

Project Final Wall-E:
Creation of Explosion:


FinAL BRAKDOWN:
Xmas Advert Ideas:


Idea 2:
Lonely Snow man
Idea 3:
Christmas Advert:

Scene 2

Colors Palette:


Starting preparing footage. I did keylight for my footage with Santa Claus and trim timing and preparing script for render sequence from Maya.


Christmas Advert Patricle Effects for my final comp.
I decided to create “magic” particle effects for my final comp. As I thougt Santa on sleigh withh come from some portal to the real world. I also instead of doing planets I decided using my drone footage I flimed in the early morning in Bieszczady Mounains in Poland.
Making Particle Effects in Houdini and rendered in Redshift:
The idea is that Santa Claus will come after this particle effects or even in the middle of duration:

Adjusting color to particle effects:
Before:

After:

Started with simple Spehere and make it polygons by changing fraction to 20. Then I converted to VDB polygins, scatter in points. I rest all attributes after and bringing point vop later to make color fade. Later by using balst I create color bigger value by 0.005 and by this colors are fading from black to blue. Later I create pop network and creating smoke affets and later using it as a base for my particle effect:
Creating Geometry light set up by using vdb nodes:
Smoke sim: 
Later I rendered everything in Redshift.
Comp Script:


Chellange Project:


