Skull Labelling:

This exercise helped us understand how realistic facial features can be sculpted through identifying the features found on the skull.

Nose Labelling:

My aim was to create noises that were vastly different to each other as I could experiment on the softer features and harder features of nose.
Nose

The first nose was simply a trial on how to sculpt a nose. A simple way of sculpting a nose is to build up an upside down T-like-shape with the clay. Then you can make indents by using the brush while holding down alt. To cut into the corners of the nose with the cutting brush to create the smile lines, as well as make the alar fat more prominent. To smooth the nose down, such as for the nose bridge, you hold down shift while using the brush.

For the second nose I aimed to create the (perfect nose/ an infants nose) as I wanted to focus on aesthetic and precision. I did not allow the clay to build up too much and kept the brush as smooth as possible.

My aim between these two nose models was to make them as drastic from each other as possible. This was so I can experiment on how to sculpt soft and precise features as well as harsh and jagged facial features.


For the final nose I wanted to produce an old man’s nose as it would be in complete contrast to the infantile nose I created earlier. I focused on building the clay up to make the nose cartilage prominent and bumpy. I indented deeply to create deep nostrils and build up the septum as the cartilage always grows as someone gets older.. I cut around the alar fat to make the nose look more harsh.


Mouth

With the first mouth I found that my modelling technique was producing a fake/ duck-lip look instead of a realistic look.

To avoid the fake look of the second nose I made sure to sculpt more softly and keep within the primary outline. To make the primary outline of a nose you cut the outline of the top lip, the parting of the lip and cut the jawline too. You mark the chin with a blob of clay and then focus on building up the structure of a lip; cutting into the corner of the mouth; building up the chin, cutting in to create a butt chin.

With the previous mouth, I got stronger with creating a primary outline so I focused on realism with this mouth. I focused on keeping the cuts soft and ensuring that the lips do not build up too much. It’s important to keep looking at the project in different angles to see where build-up may have gone wrong/ where the realistic element differs.
Ear Labelling:

Ear


Eye:

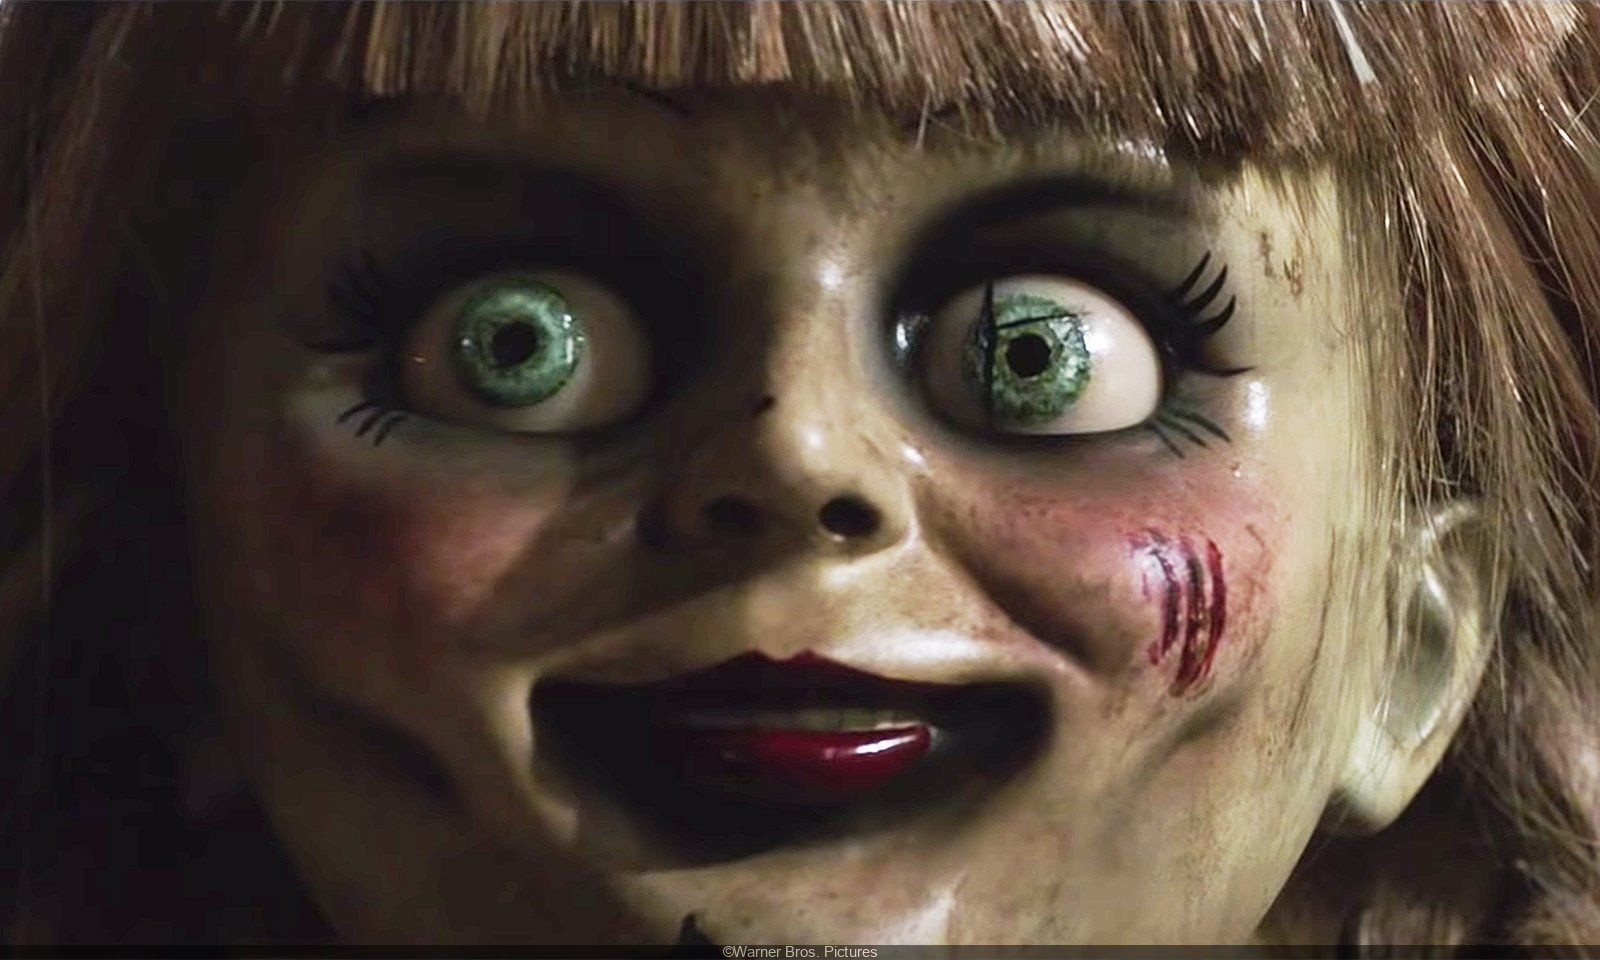
Villain Moodboard


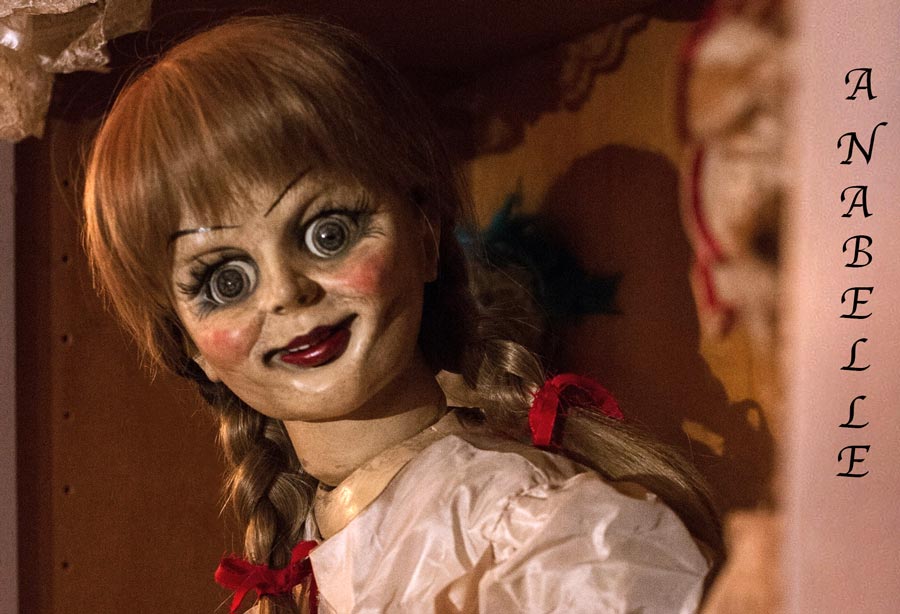
For my Villain, I was aimed for it to have sharp feminine features like the ones in the images above. From the mood board, I focused on taking most inspiration from having high and accentuated features the way Annabelle has. I also wanted my villain to have hair that also acted like a weapon, such as the monsters Inc character does. For the skin, I aimed for my model to have stone-like skin and for it to be as if the skin was cracking/ decaying; a living body decaying.

After outlining the basic features with clay build up, such as the eyes, I built up the cheekbones to ensure that a dramatic effect is achieved.

I ensured to keep building up and smoothing out while making sure the mapping of the features remain secure and clear. I used alt + clay build up to dig into the eyes and the cheekbones to create sharp contours.

 I strongly contoured the neck to keep the neck looking feminine; another reason was for it to look malnourished, this was so it could fit with the decaying look of the skin.

To emphasis on the sharp features of the villain, as well as to distinguish this model as a villain, I gave it dramatic ear antennas.
The idea that follows is that the ears give her very sharp earrings and help her pin people down/ pierce skin and other materials with her head.

 I used clay build up to build up on the scalp, back and shoulders. This would be where the hair is.

I used clay build up to make strands of hair and used alt to make some ridges for the strands. I used the move tool for the ends of the hair to create dagger-like ends.
The ends of the hair can pierce into skin and releases oil that is venomous.
 When building up the hair, I consistently smoothed down the hair and building contours with alt.
Finished model
First Coat of Paint
I used a light yellowish-grey colour for the skin to achieve washed out, stone-like looking skin. I coated the hair in red.

To the skin, I made some patches of light grey as well as ash grey to give the skin that decaying, sucked-out look.

I dug inro the contour lines of the left side and coloured the hollow part of the cheek light grey and the outer parts of the cheek ash grey. I wanted the left side of the face to look more decayed than the right side as usually. For most people the left side is the side where the facial features are more expressed and exercised, therefore they are more worn out yet prominent. I matched the lip colour to the hair colour. I faded out the lip colour on the corner of the mouth to match the lips to the skin texture. I also darkened the top of the ears – the thinner and more used (in attacking) area.
 I coloured the ends of the hair maroon as the ends of the hair are supposedly venomous, so I wanted focus to be brought to the shape of the hair-ends.

 I made a wide, red eyeball on Maya for the Villain. I wanted the pupils to be dilated as it would match with the bold features of the face. By having the pupils dilated, it implies the narcissistic qualities of the villain; the villain is alert of its surroundings, adrenaline and anger/ spite increases.

 I tried to UV my model and bring it into Maya so I can add in eyeballs. However, I faced errors when trying to render this model.
Finished Coloured Model:

Facial Expressions
I experimented with the facial expressions using FACS. AU15 & AU5 – I dragged down the eyes and eyebrows to make the entre face drag down with the mouth. Although I did like the look of the eye, they looked too accentuated and fake. The mouth itself was a bit too squished.
 AU4, AU6 & AU12 – I then pulled the eyebrows down and the lips up. I also moved the lower lids up to make the villain look conniving. Even though the villain does look uncanny, it doesn’t look realistic and the expressions look plastered.
 AU12 – I created a subtle smile to make the villain look untrustworthy/possessive. I wanted her facial expressions to be likewise to Annabelle’s facial expressions.