Week 1: Introduction to 3D Animation, the bouncing ball
The Principles of Animation
1. Squash And Stretch

The principle is based on the observation that only stiff objects remain inert during motion, while objects that are not stiff, although retaining overall volume, tend to change shape to an extent that depends on the inertia and elasticity of the different parts of the moving object. To illustrate the principle, a half-filled flour sack dropped on the floor, or stretched out by its corners, was shown to be retaining its overall volume as determined by the object’s Poisson ratio.


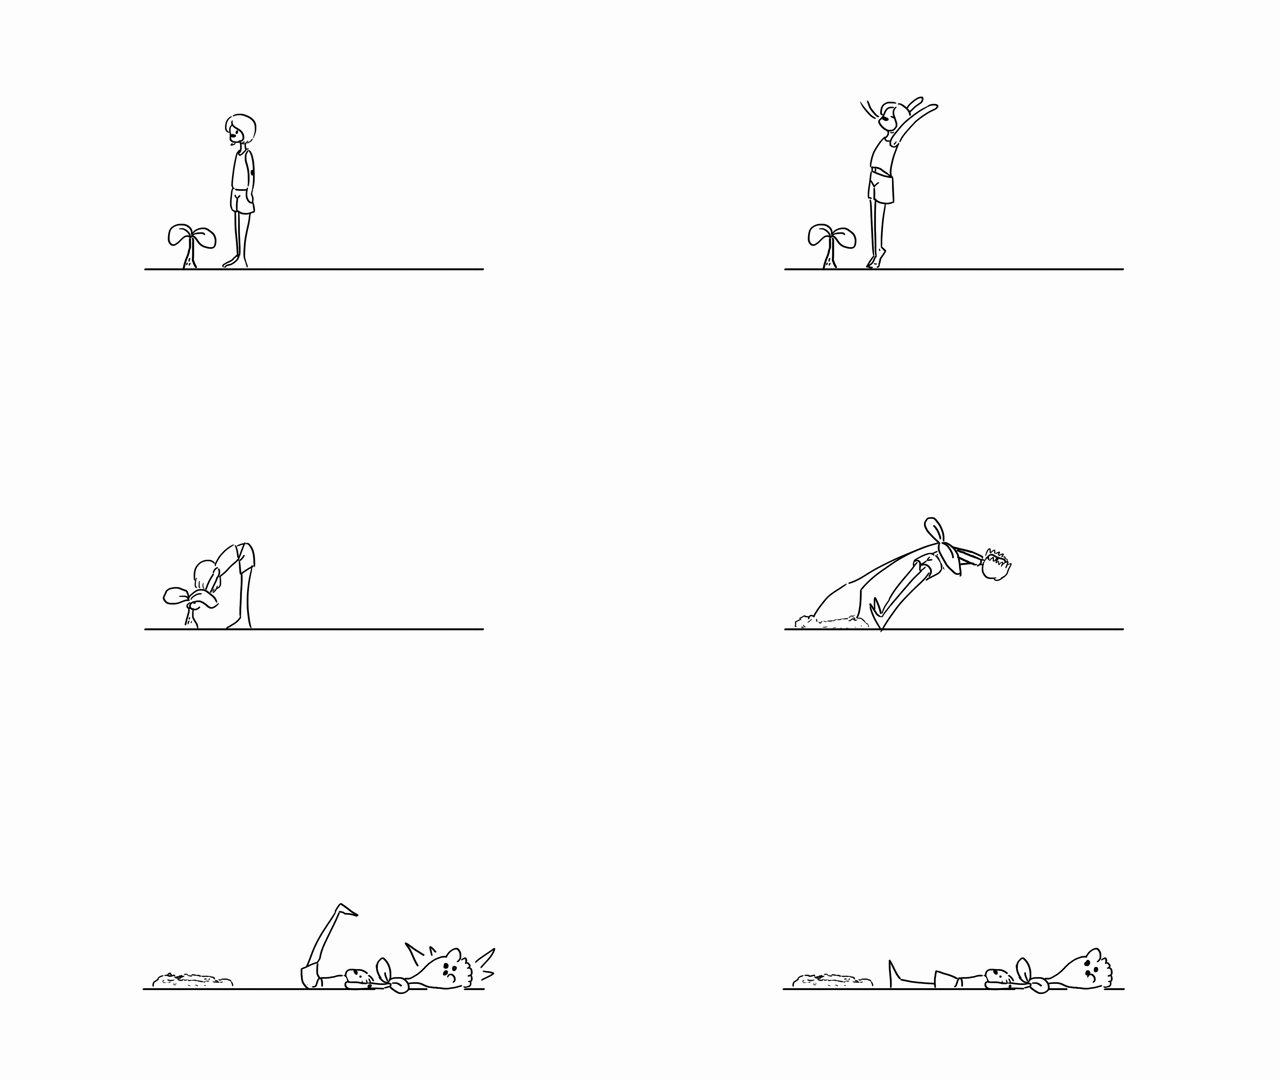
2. Anticipation
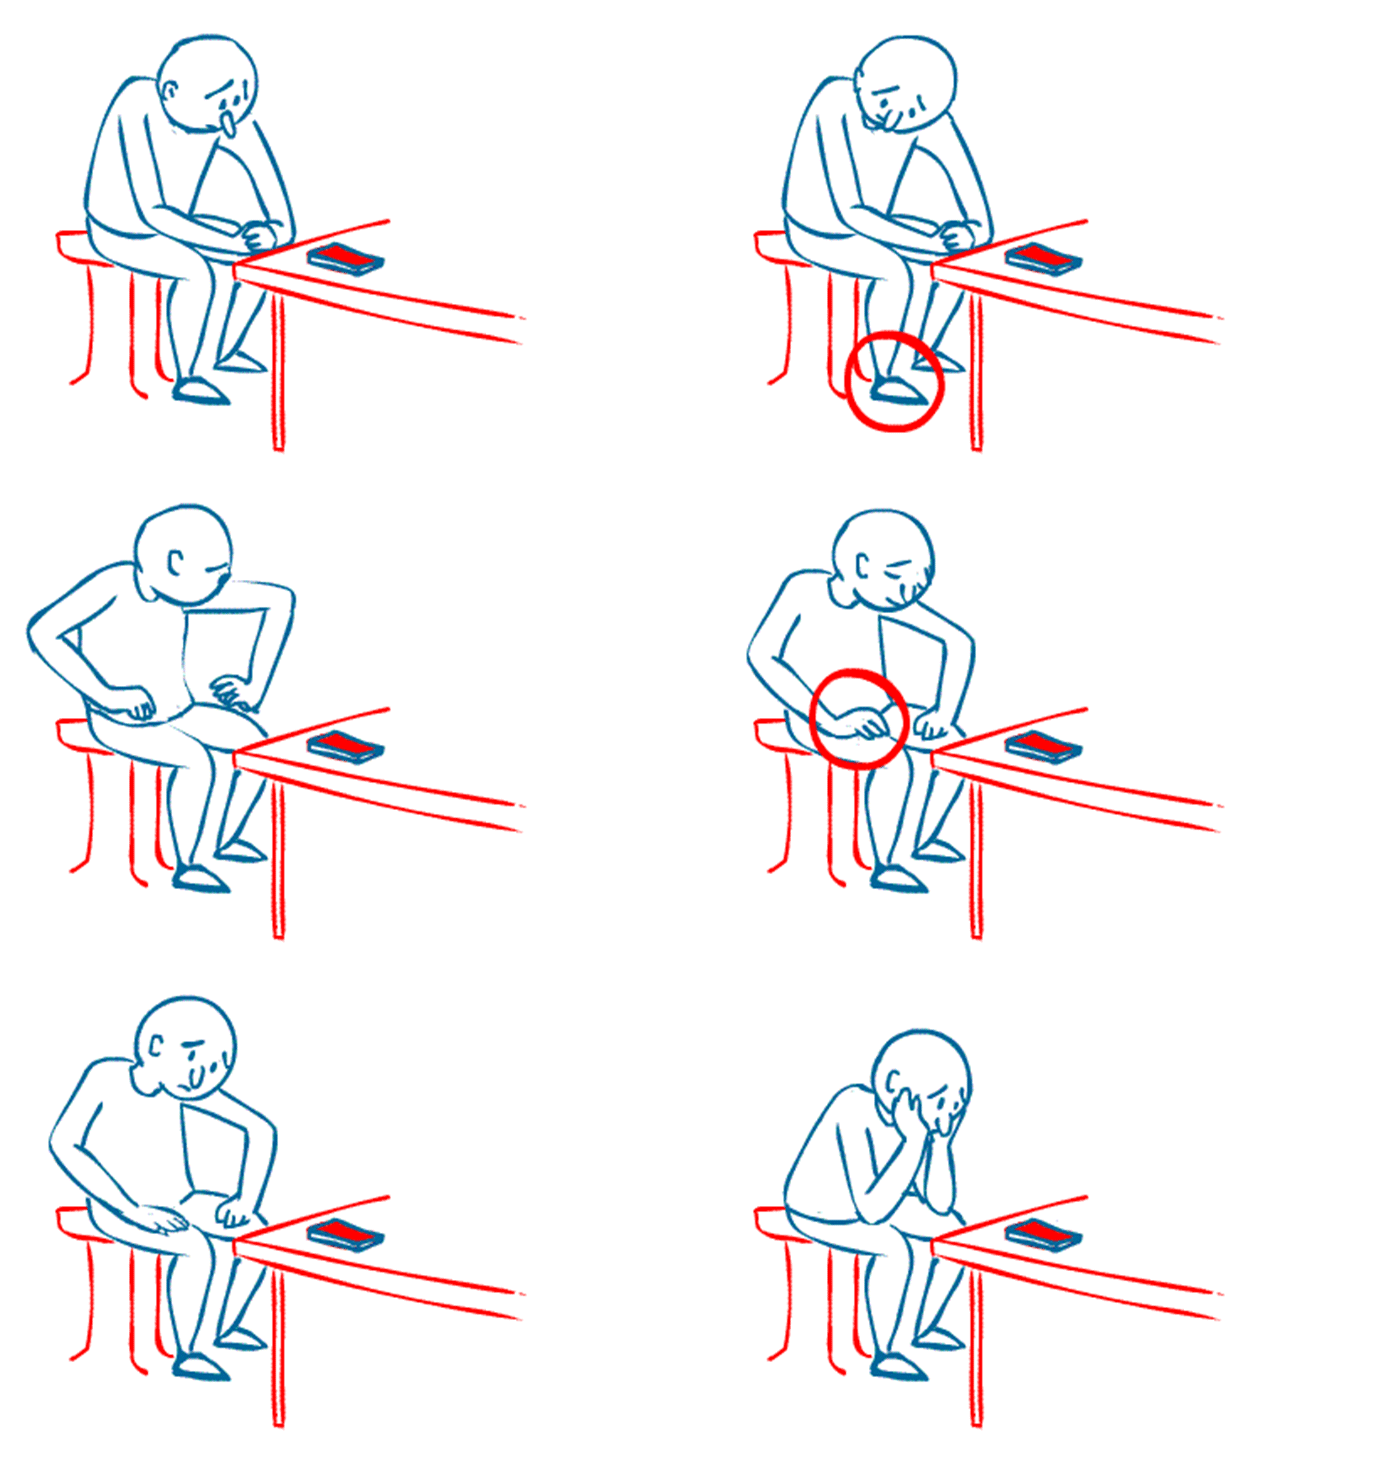
The Disney Studio’s animators soon noticed that without a “planned sequence of events” leading the eye, audiences could not easily follow the animation. As a result, the animators would include a design known as an anticipation drawing to help the viewers get ready for an action by letting them guess what will happen next. Additionally, this would make the action seem more realistic.

3. Staging
Staging is the process of drawing the viewer’s attention to a particular scene. In order to draw the viewer’s attention, animators use a variety of poses and actions of the characters, as well as their positioning in the frame, the background, and other aspects of the scene.
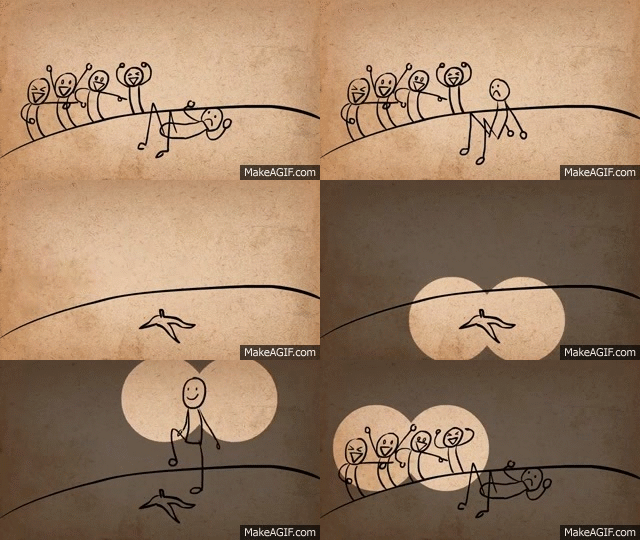
In this method, animators can convey to the audience the atmosphere, reactions, and feelings of characters in a particular story by using animation techniques. In addition, staging can assist in informing an audience about the narrative.

4. Straight Ahead And Pose To Pose
In straight ahead a series of pictures, each one drawn by the animator in turn to produce the movement, can be seen. This may be a novel and imaginative method to work.

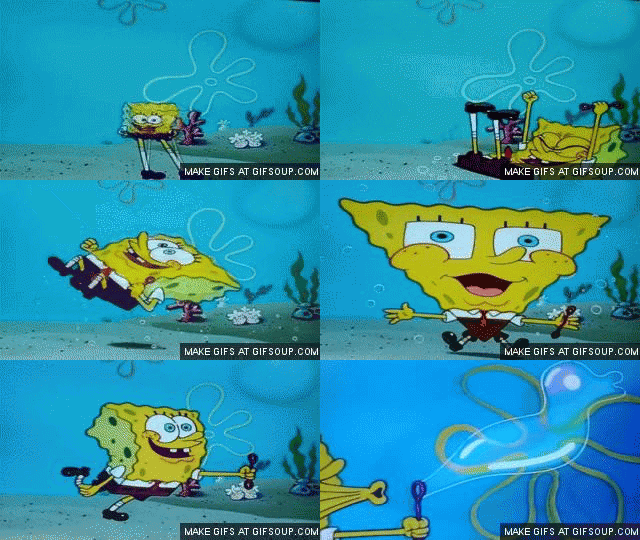

Pose to pose is a term used in animation, for creating key poses for characters and then inbetweening them in intermediate frames to make the character appear to move from one pose to the next. Pose-to-pose is used in traditional animation as well as computer-based 3D animation. The opposite concept is straight ahead animation, where the poses of a scene are not planned, which results in more loose and free animation, though with less control over the animation’s timing.
5. Follow Through and Overlap
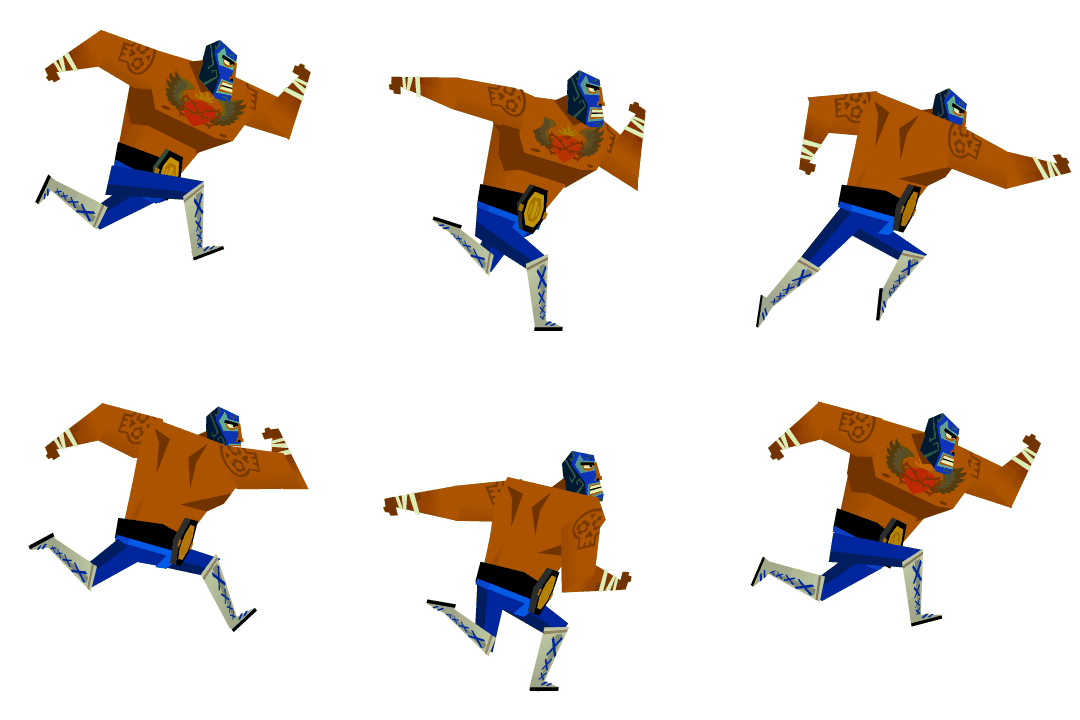
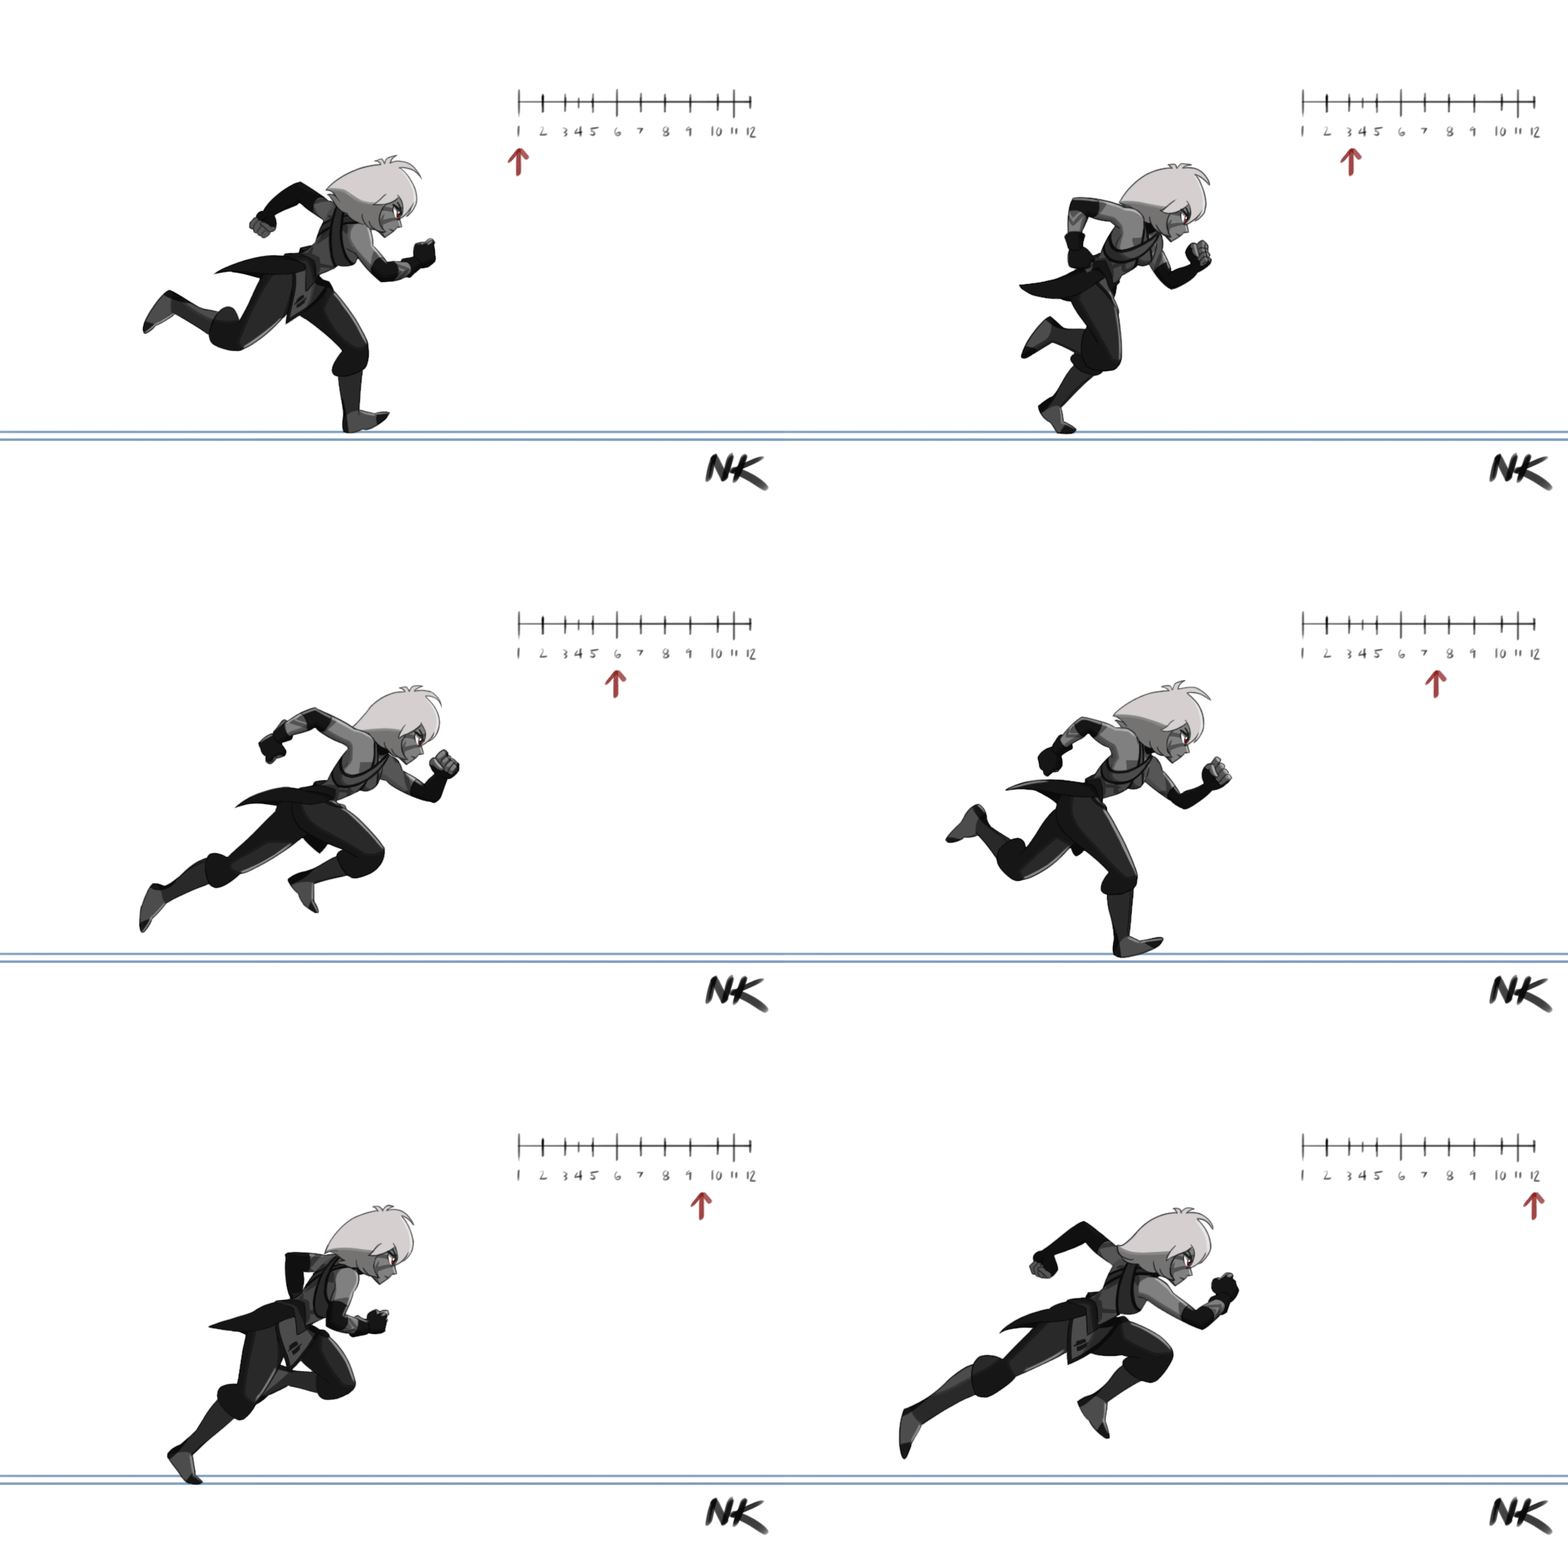
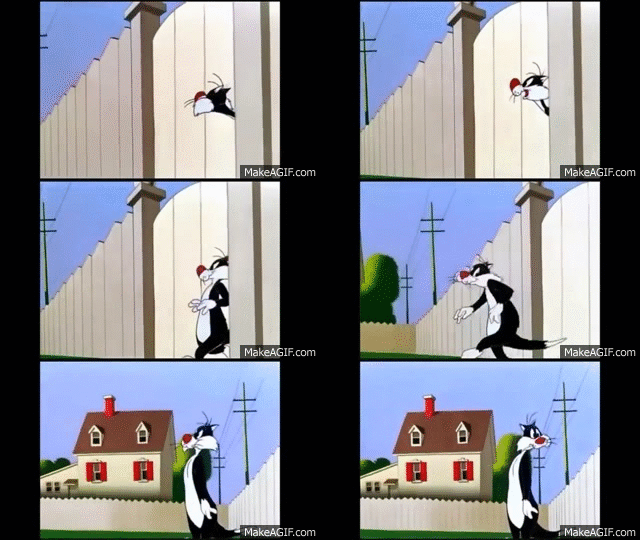
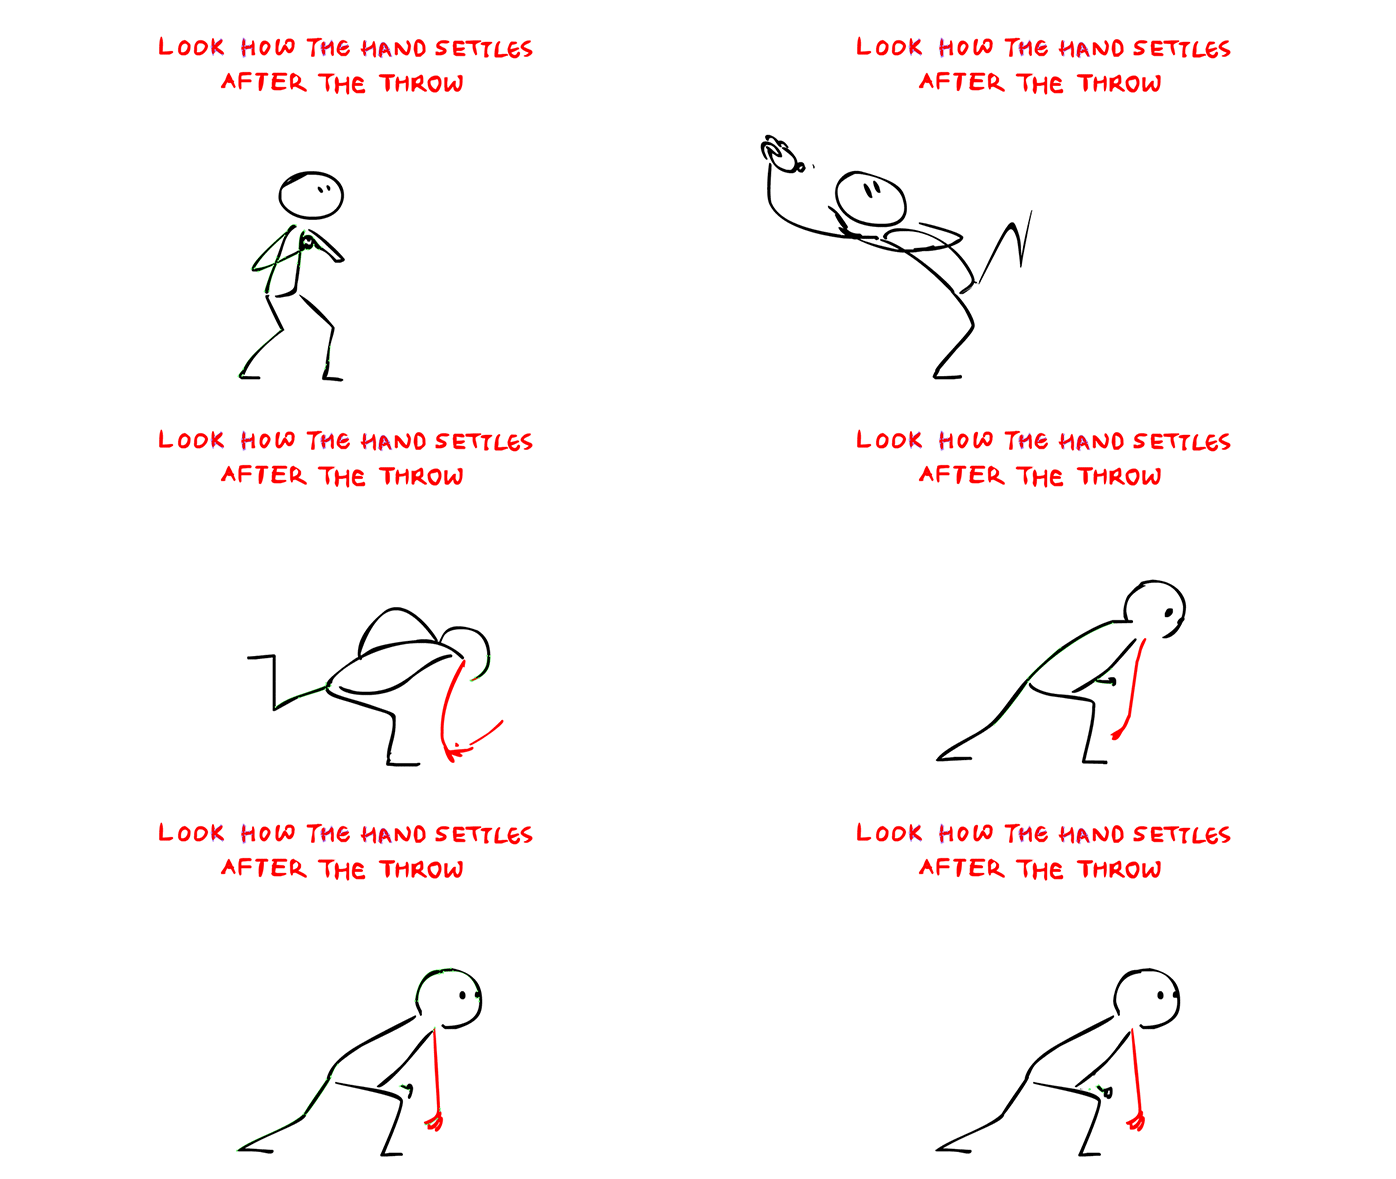
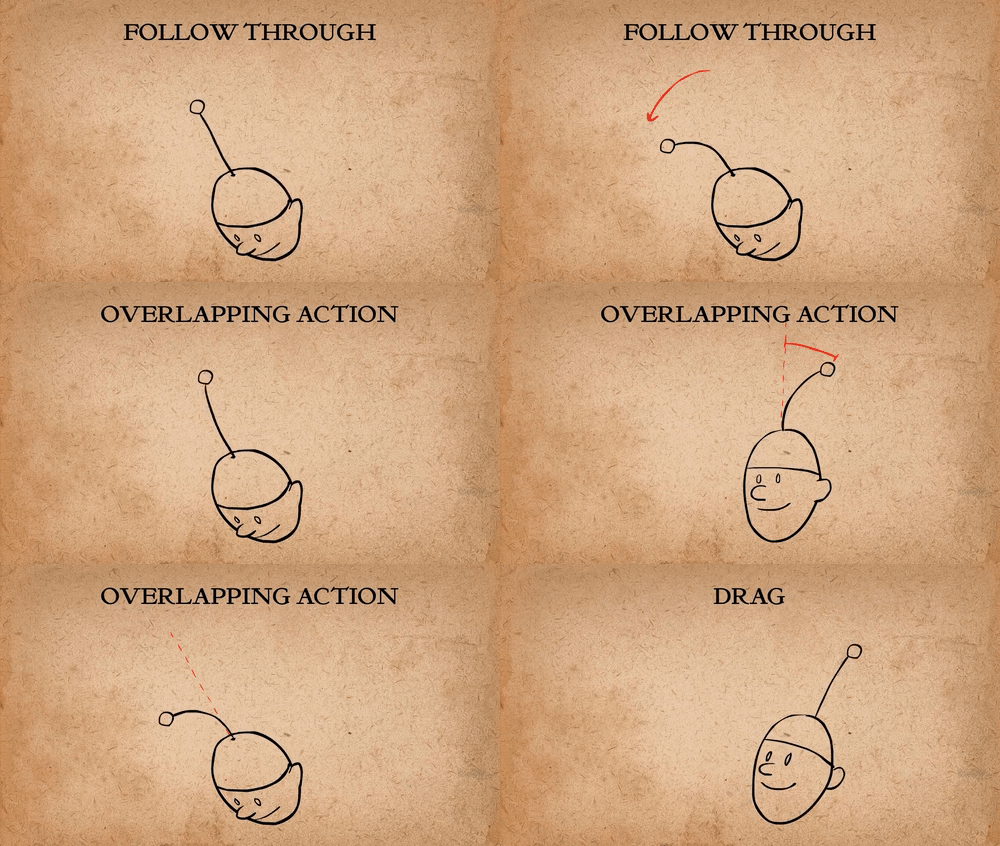
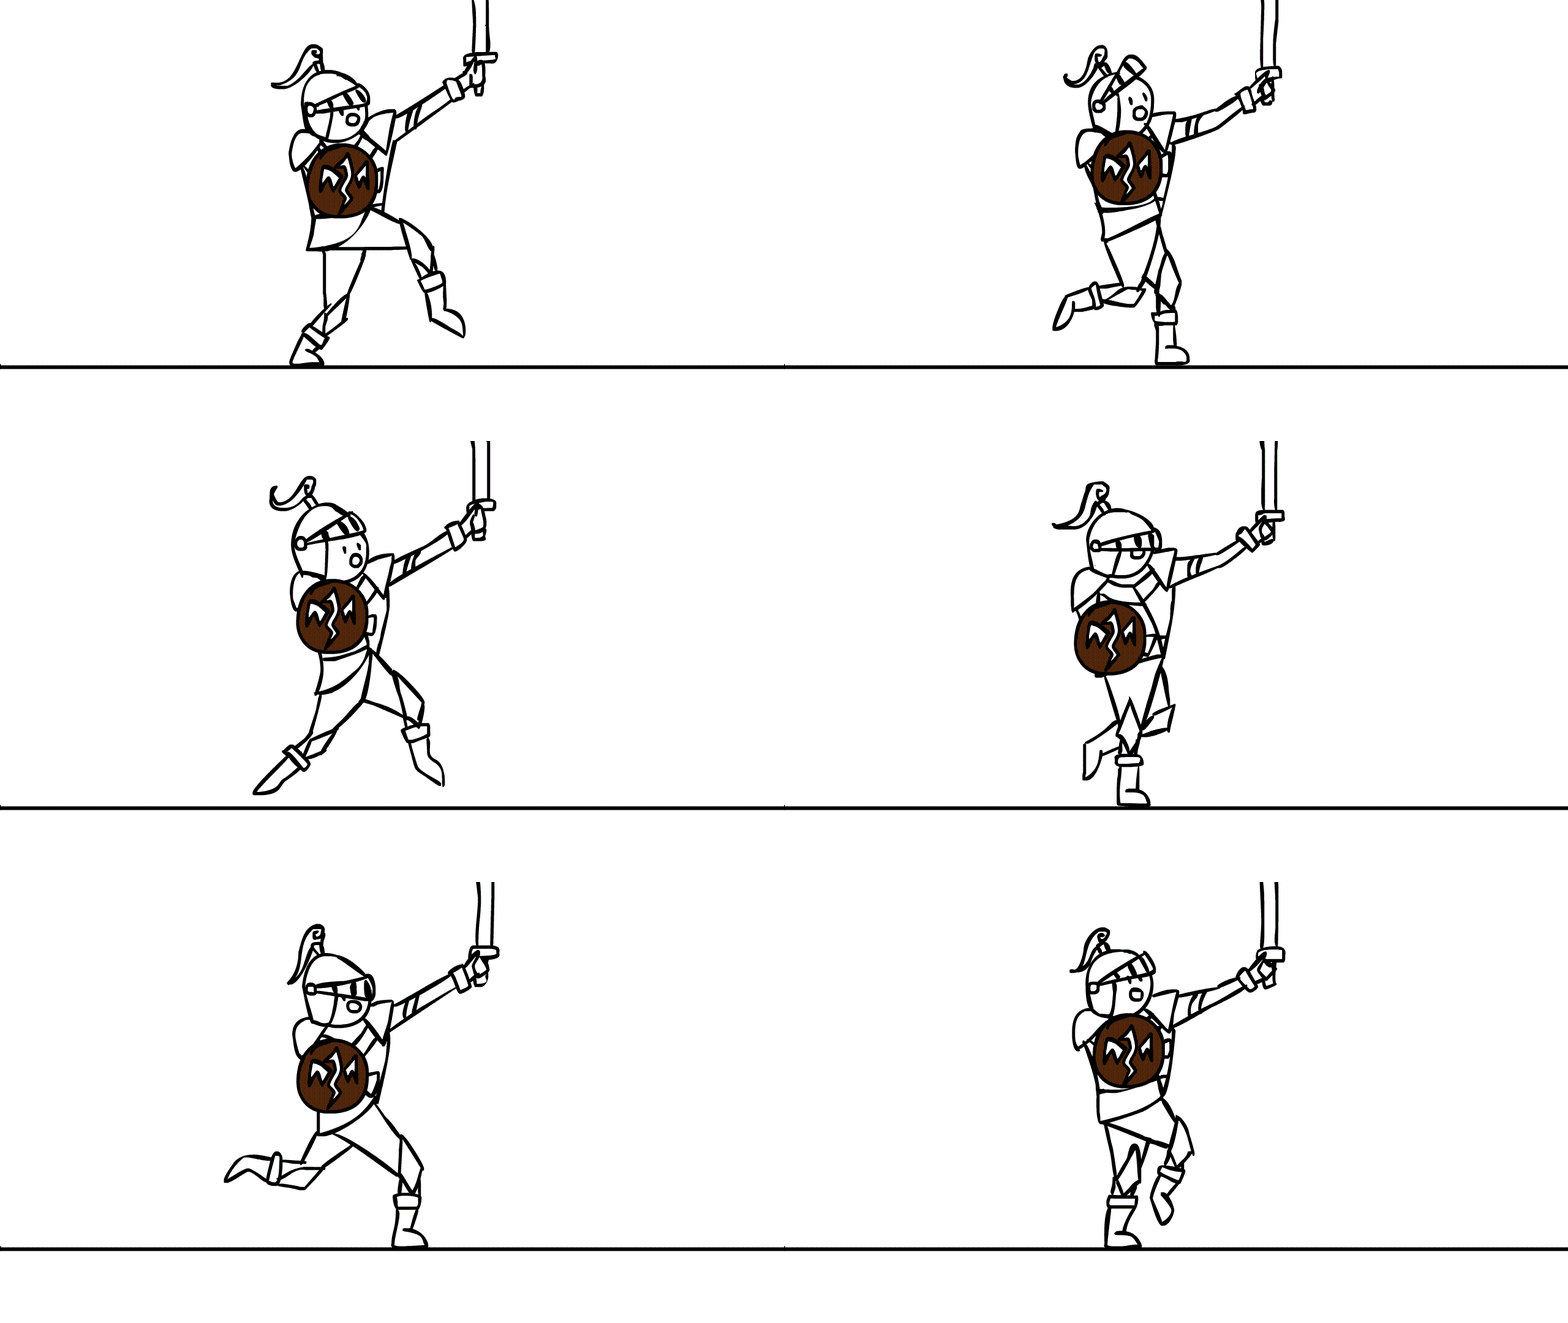
Not everything associated with a character tends to stop when they do in a moment. A few things continue to move for a little period of time after the character stops. Various body parts will move at different times, according to overlapping activity.
6. Slow In and Slow Out
Before and after each position, in-between frames were made rather than moving constantly from point A to point B. This gave the animation’s motions a more realistic and natural feel.

7. Arcs
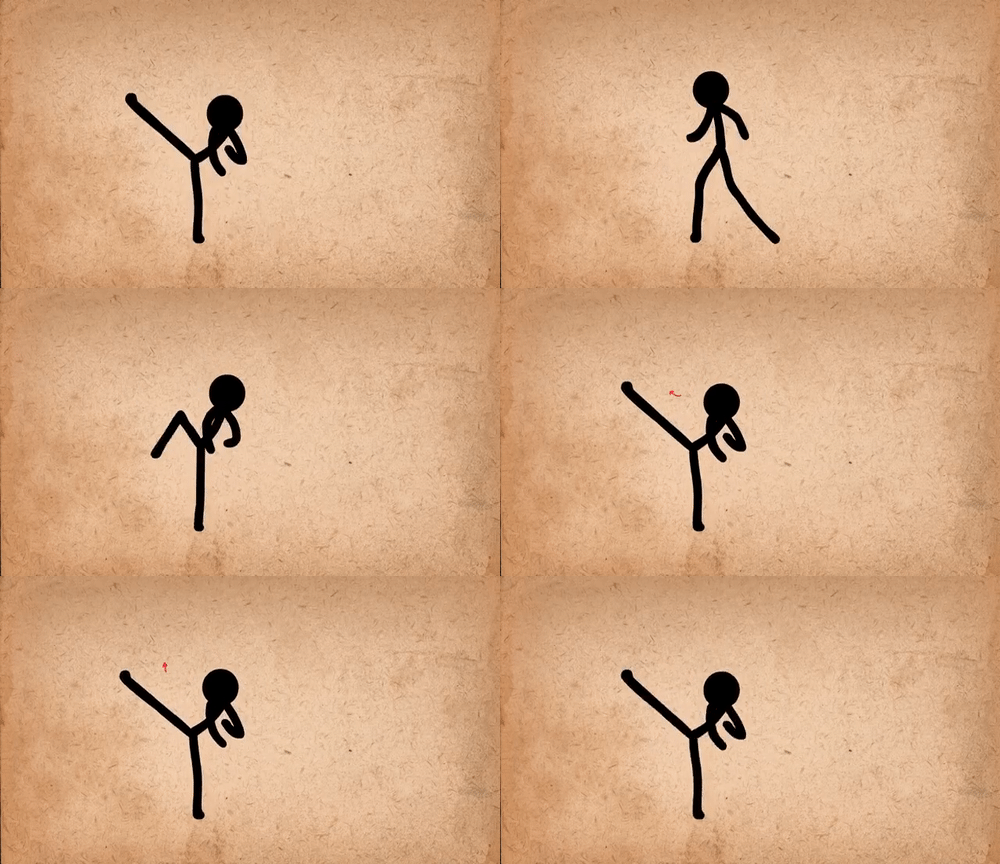
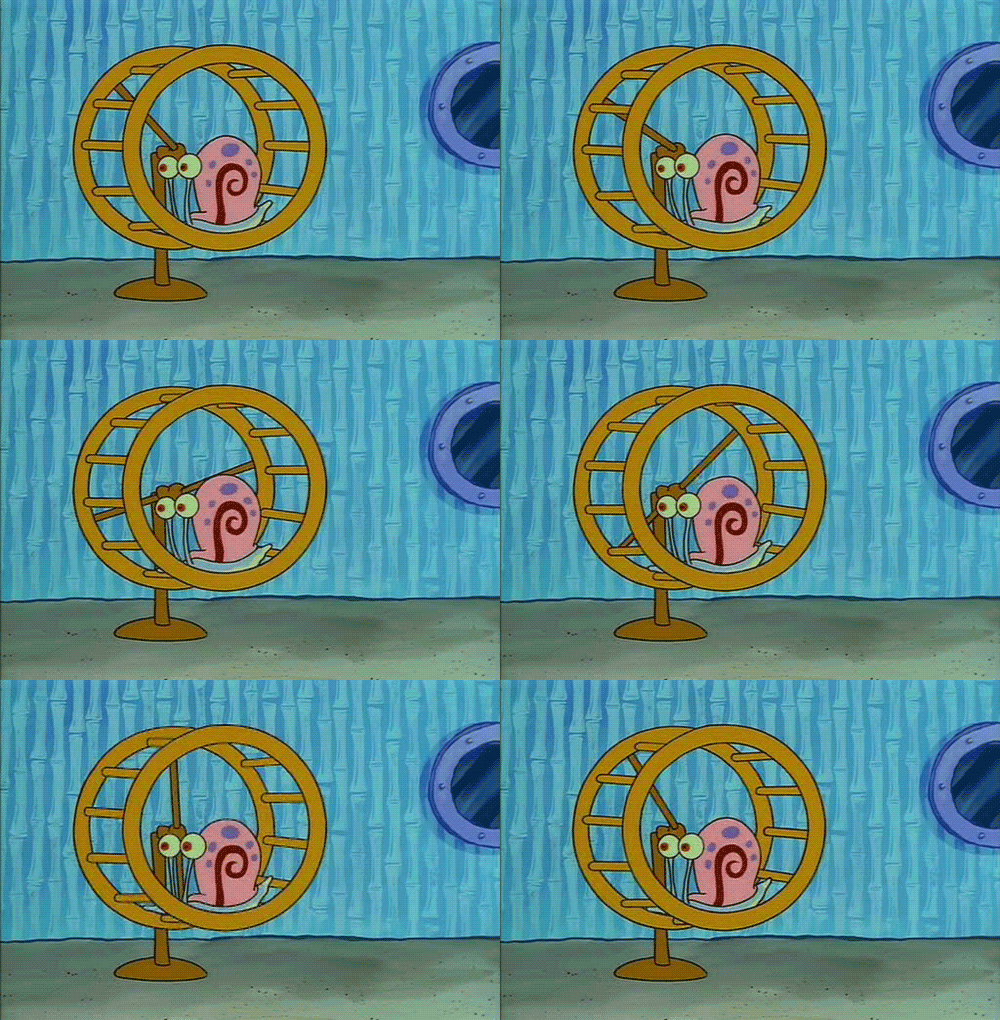
Most natural action tends to follow an arched trajectory, and animation should adhere to this principle by following implied “arcs” for greater realism. This technique can be applied to a moving limb by rotating a joint, or a thrown object moving along a parabolic trajectory.
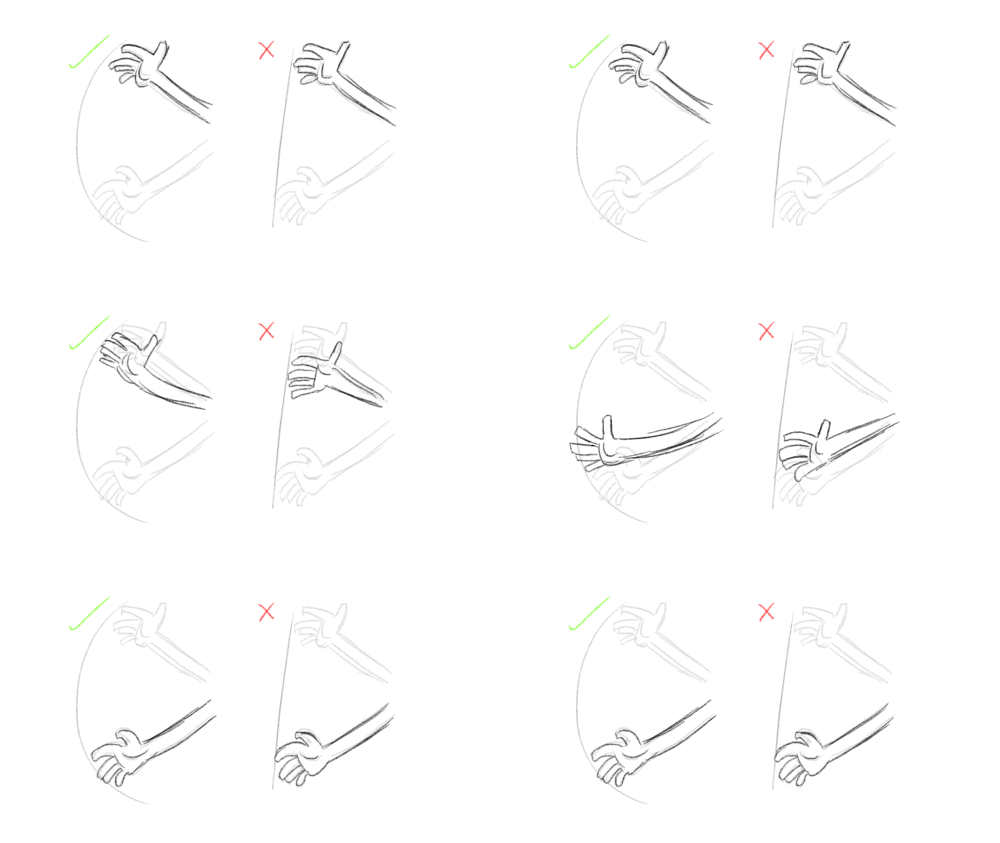

The exception is mechanical movement, which typically moves in straight lines. As an object’s speed or momentum increases, arcs tend to flatten out in moving ahead and broaden in turns. In baseball, a fastball would tend to move in a straighter line than other pitches; while a figure skater moving at top speed would be unable to turn as sharply as a slower skater, and would need to cover more ground to complete the turn.

8. Secondary Action
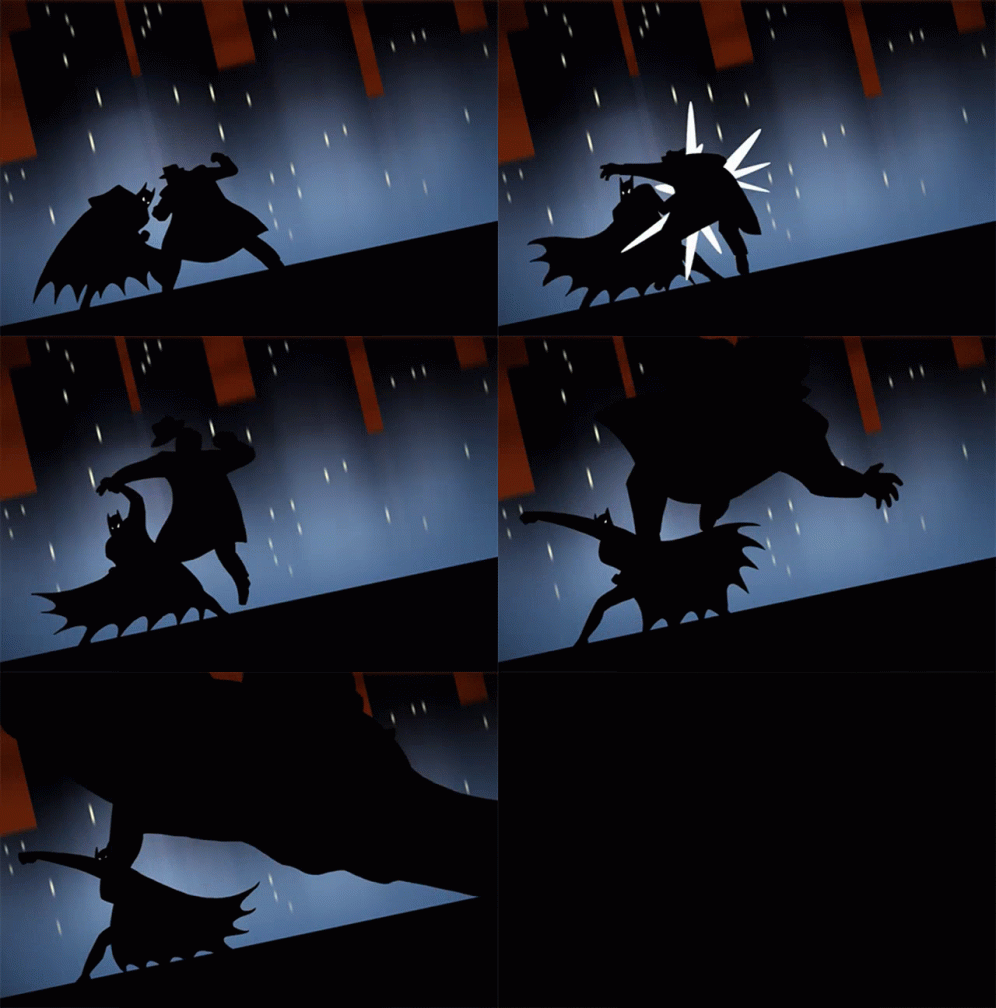
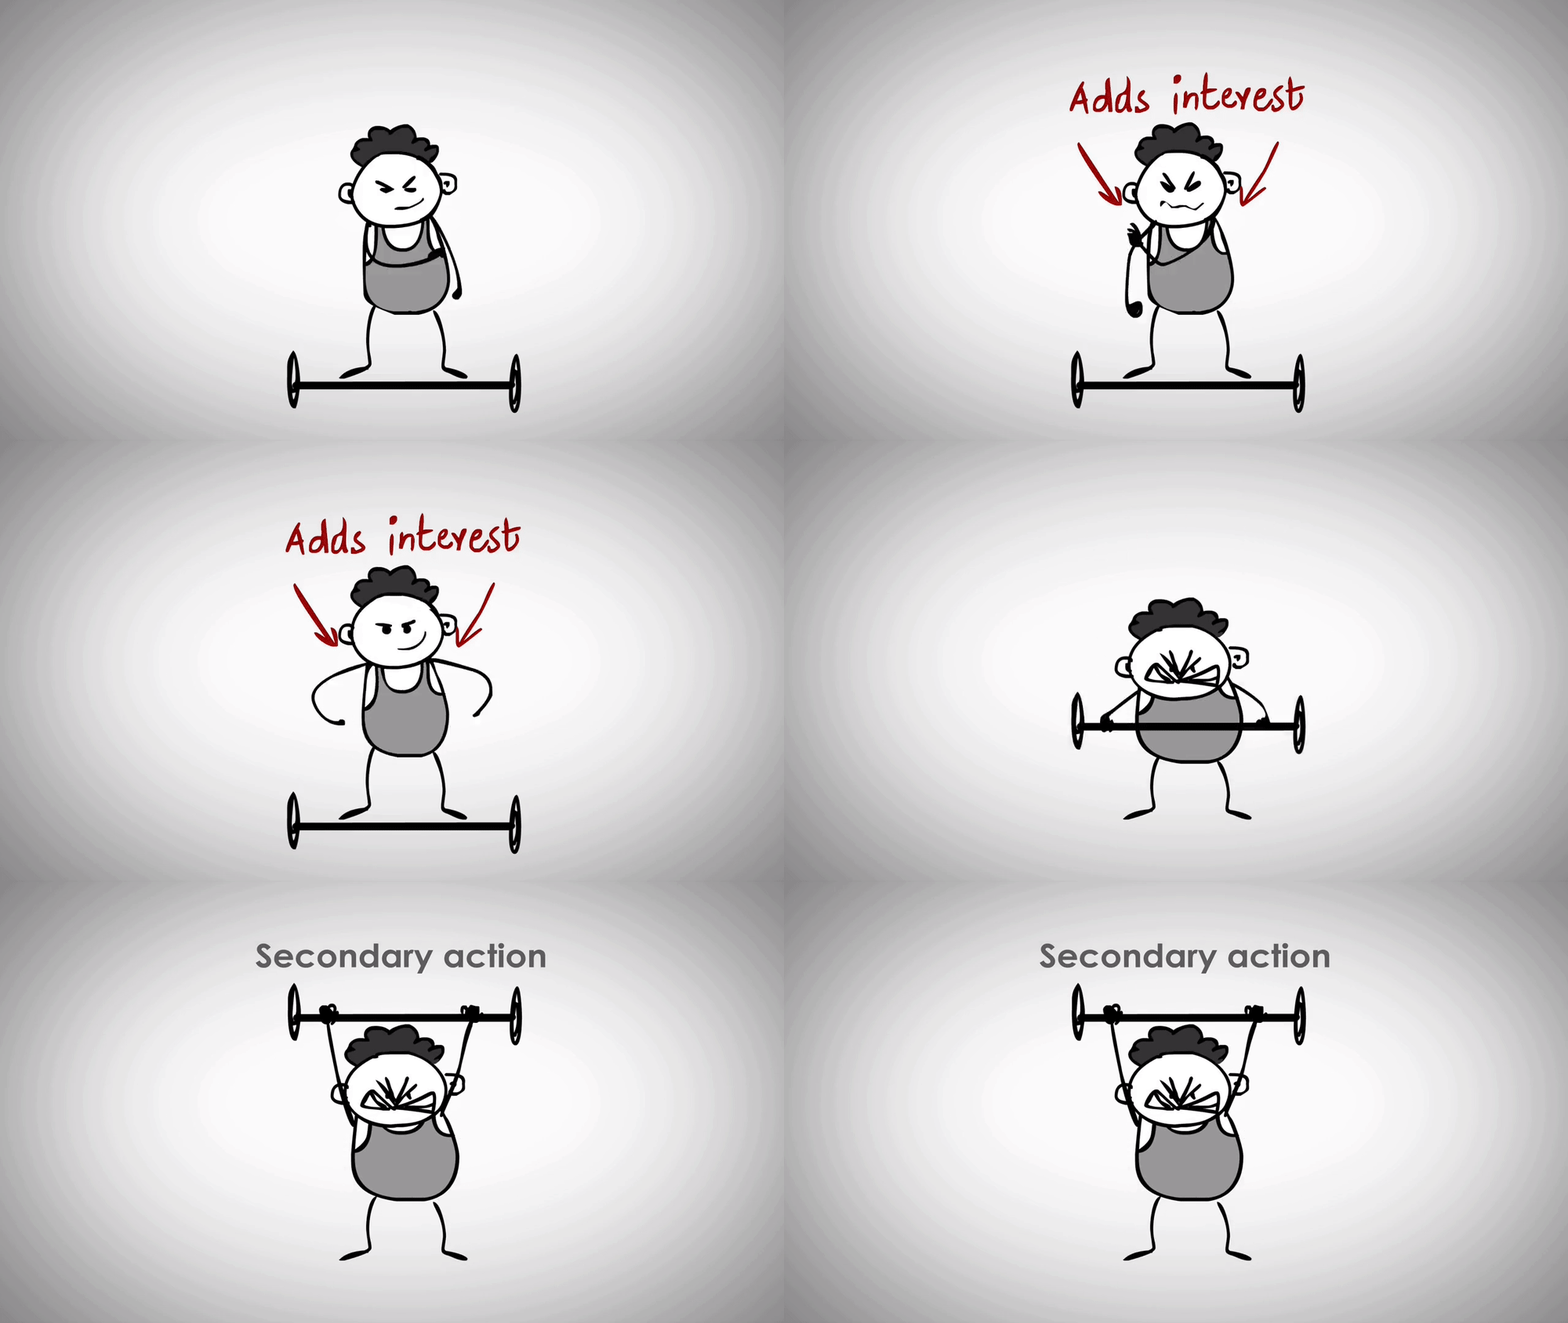
A scene comes to life and can support the main action by including supporting secondary activities. When walking, a person can simultaneously speak or whistle, swing their arms or keep them in their pockets, and display their emotions through their facial expressions. The crucial aspect of supporting activities is that they draw attention to the primary action rather of detracting from it.
9. Timing
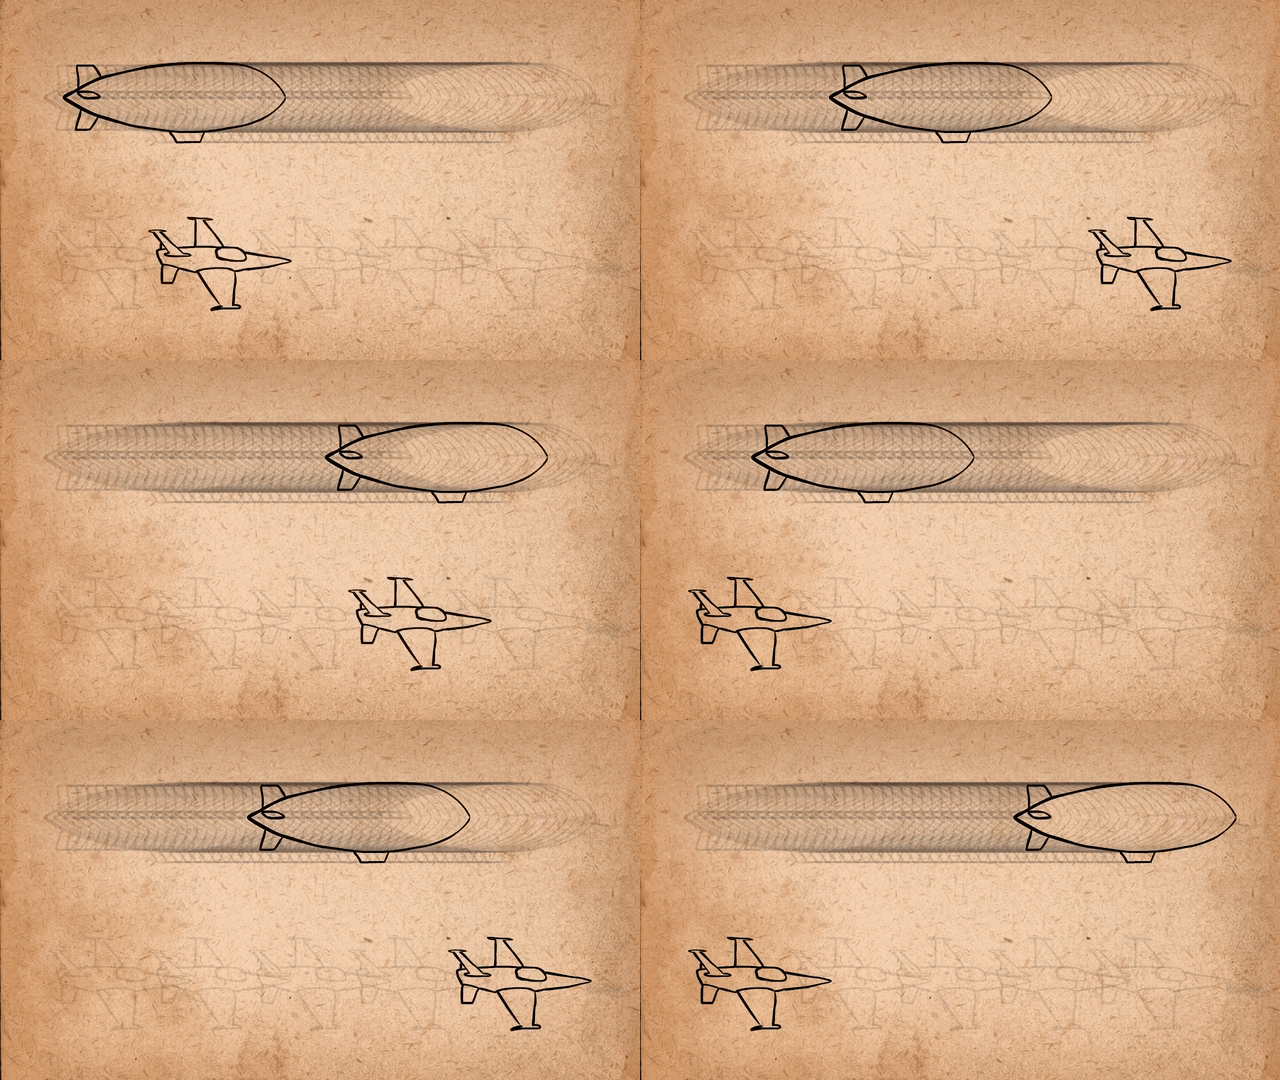
Timing describes how many drawings or frames there are for a specific movement, which relates to how quickly the motion moves on screen. Correct timing causes objects to appear to obey the laws of physics on a purely physical level. 
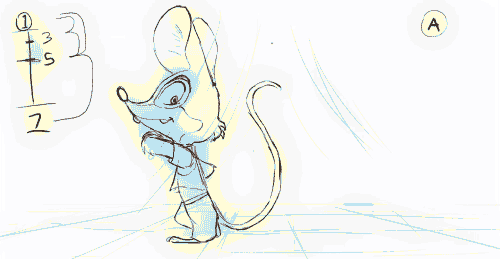
For example, an object’s weight affects how it responds to a push, as a lightweight object would respond more quickly than a heavy one. Establishing a character’s mood, emotion, and response depends on timing. Additionally, it can be used as a tool to convey certain facets of a character’s personality.
10. Exaggeration
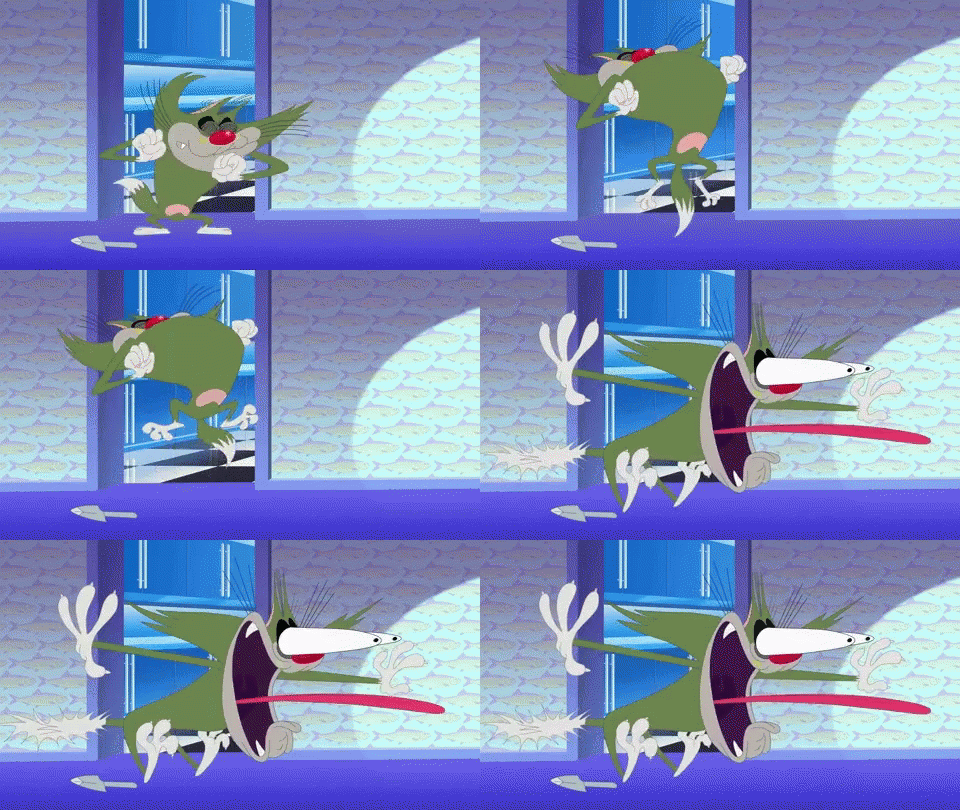
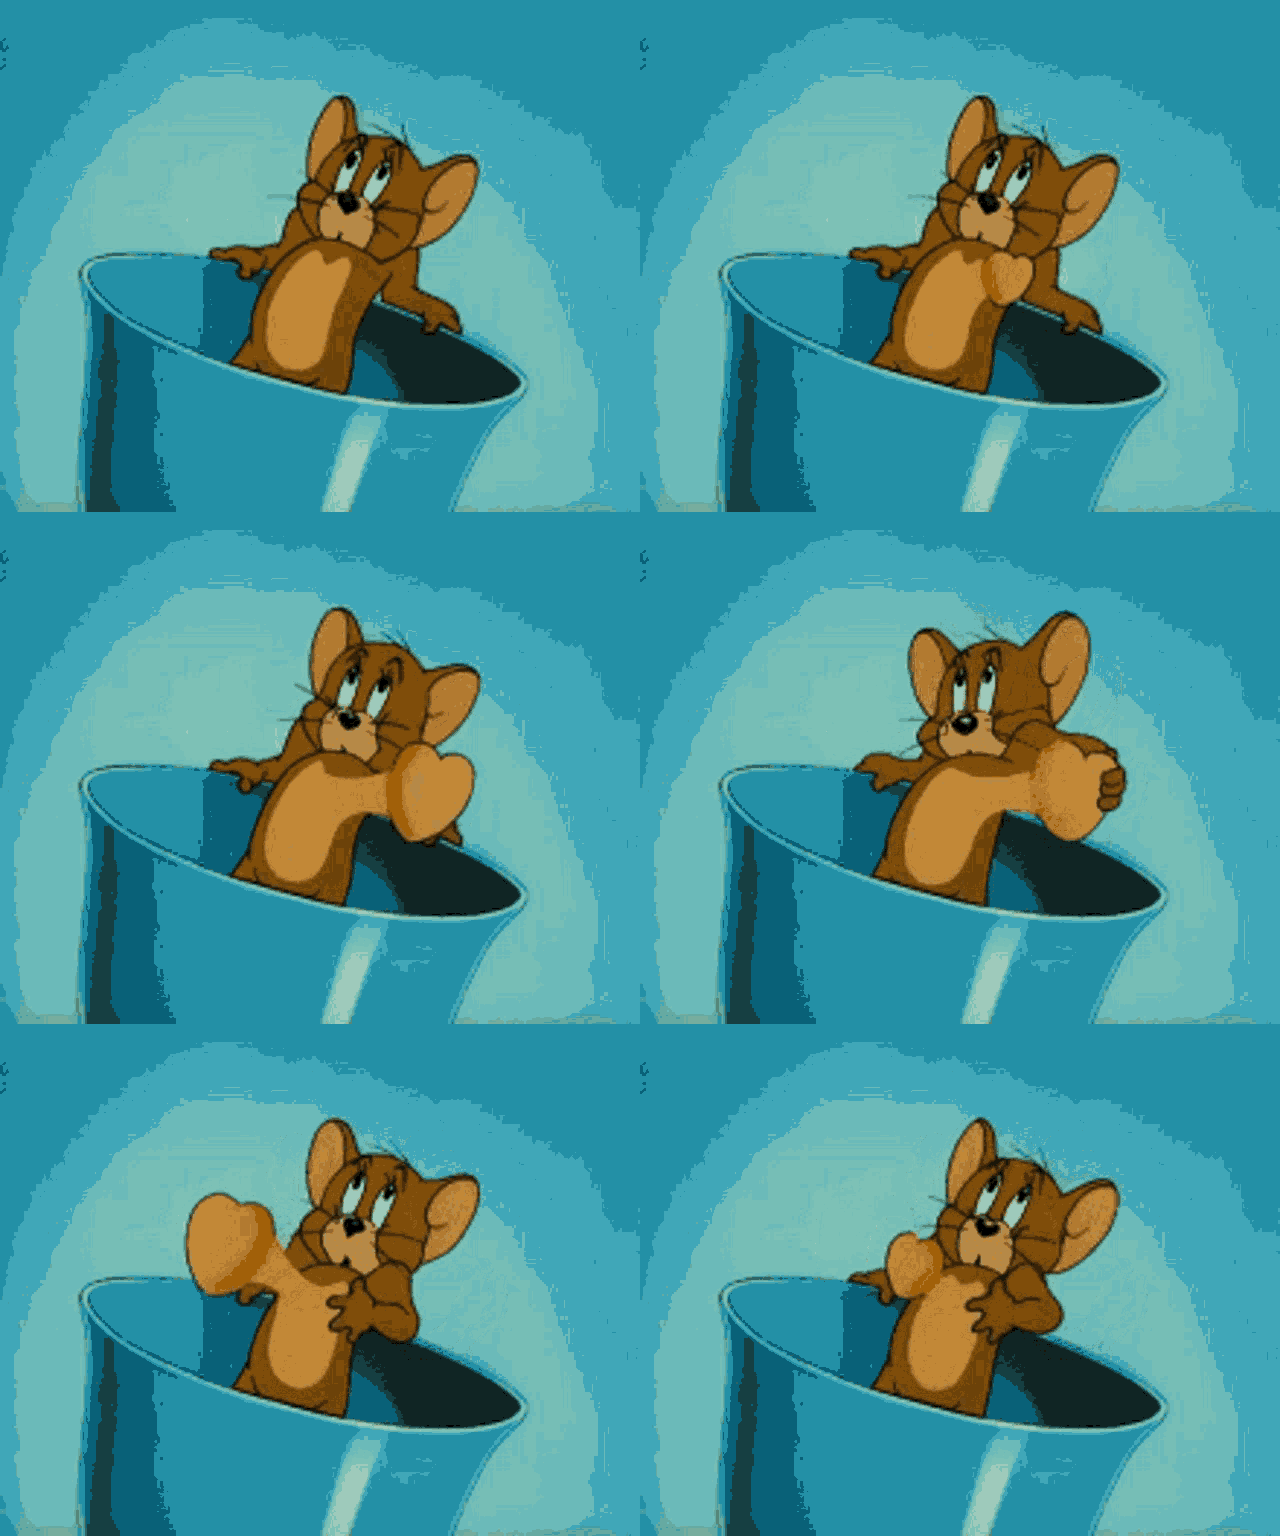
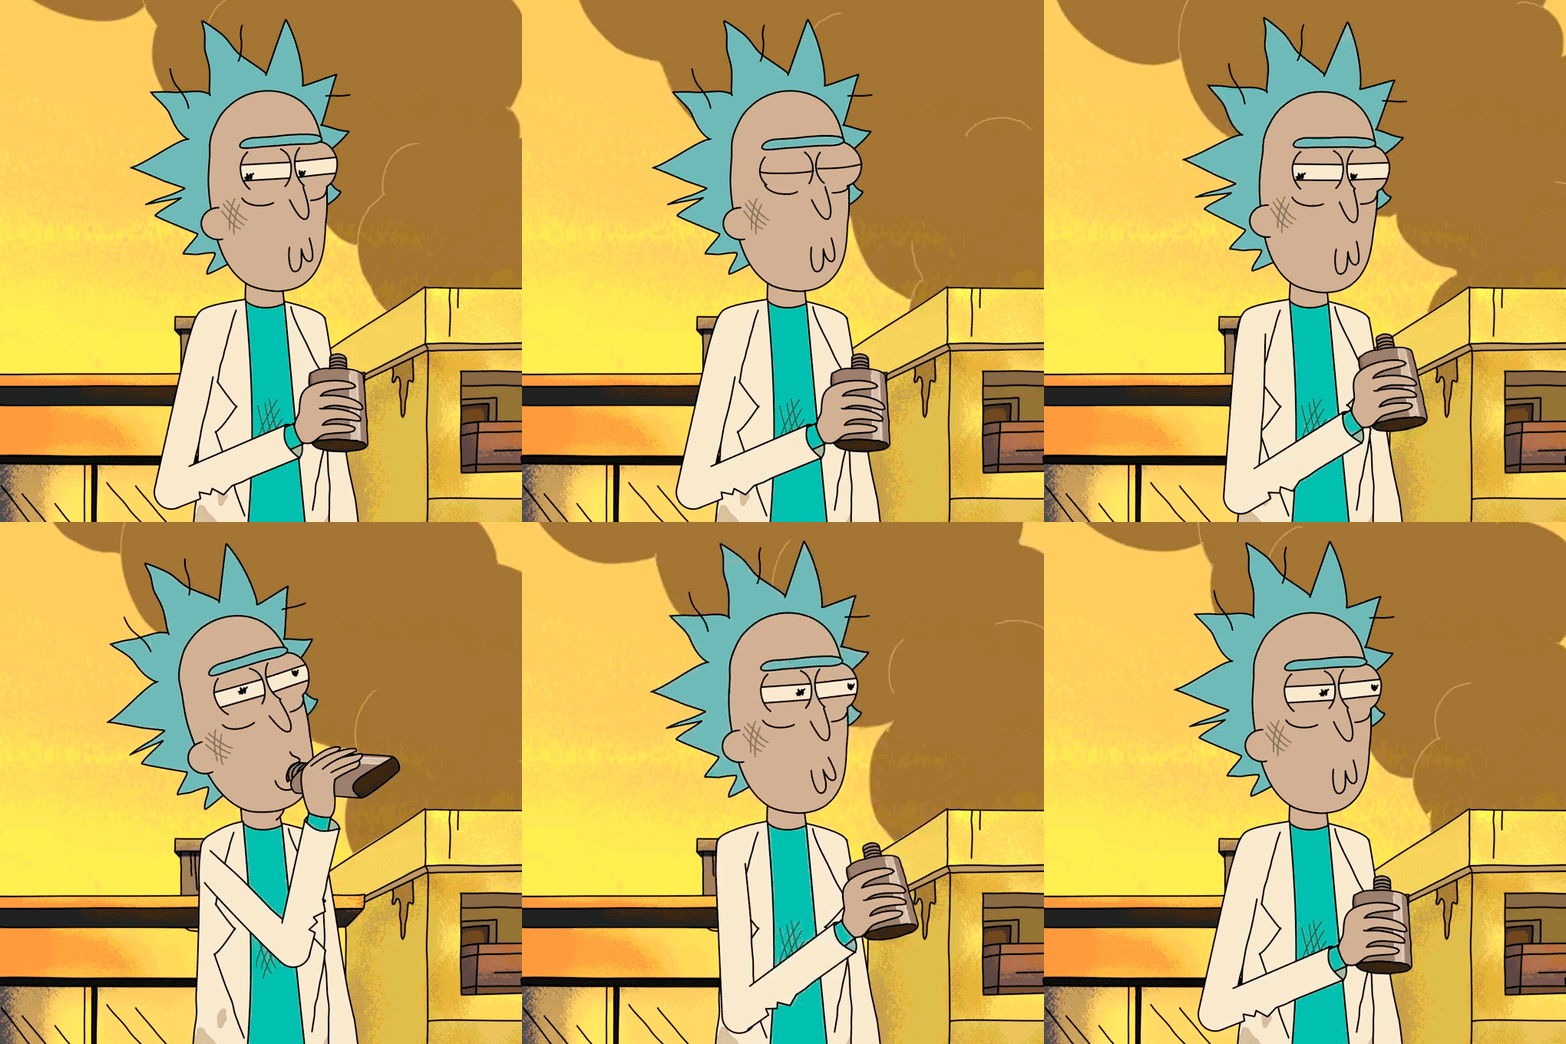
Exaggeration is a very helpful technique for animation because realistically accurate animated motions might come off as static and boring. Whether one aims for realism or a particular style, like a caricature or the style of a particular artist, determines the degree of exaggeration. Disney used the traditional meaning of exaggeration, which was to depict reality in a wilder, more extreme way while yet being faithful to it. Other examples of exaggeration include the supernatural or surreal, changes to a character’s physical appearance, or aspects of the plot itself. When using exaggeration, it’s crucial to exercise some moderation.
11. Solid Drawing
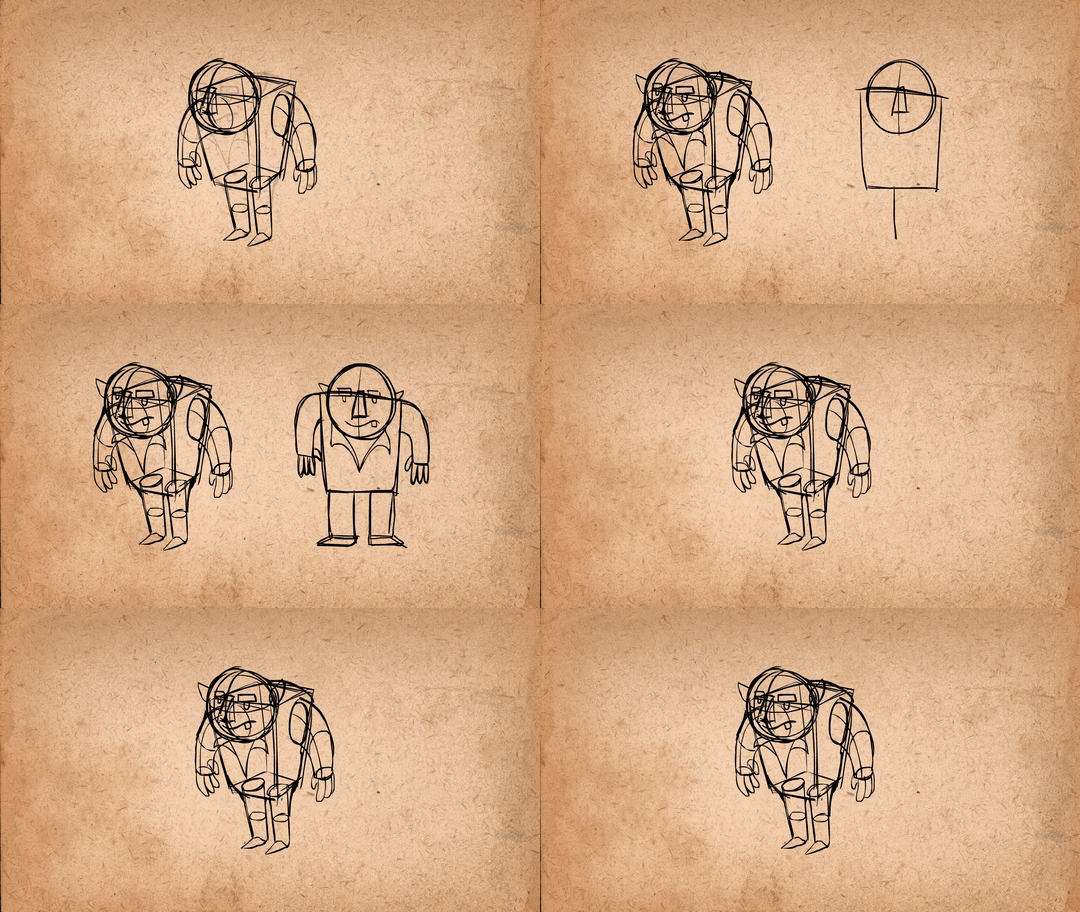
The idea of solid drawing is to give forms weight and volume so they can be considered in three dimensions. A competent artist, an animator must be familiar with the fundamentals of three-dimensional shapes, anatomy, weight, balance, light and shadow, etc. This required the traditional animator to take art classes and create life-like sketches. Johnston and Thomas specifically advised against the creation of “twins,” or characters whose left and right sides were mirror images of one another and appeared lifeless.
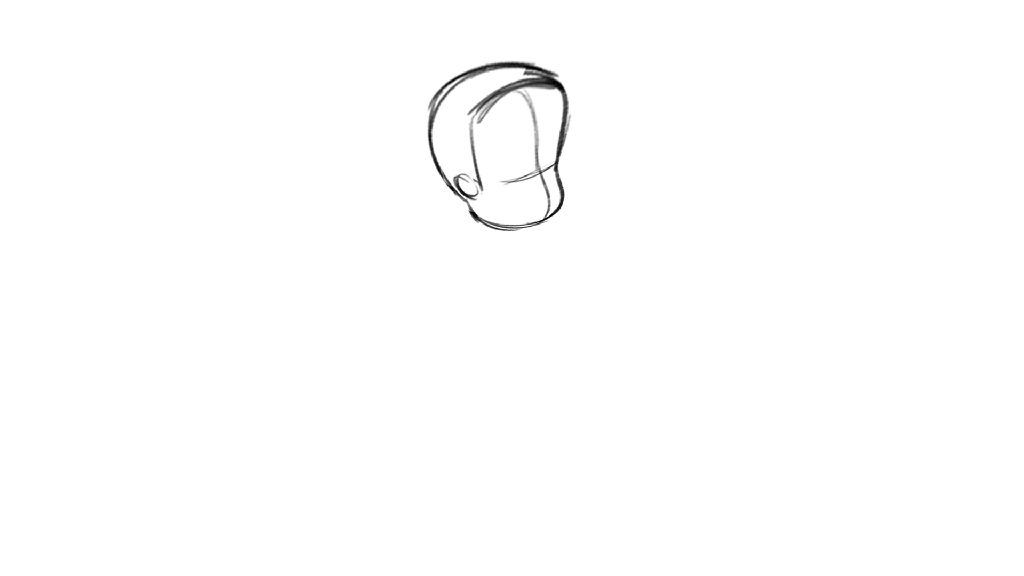
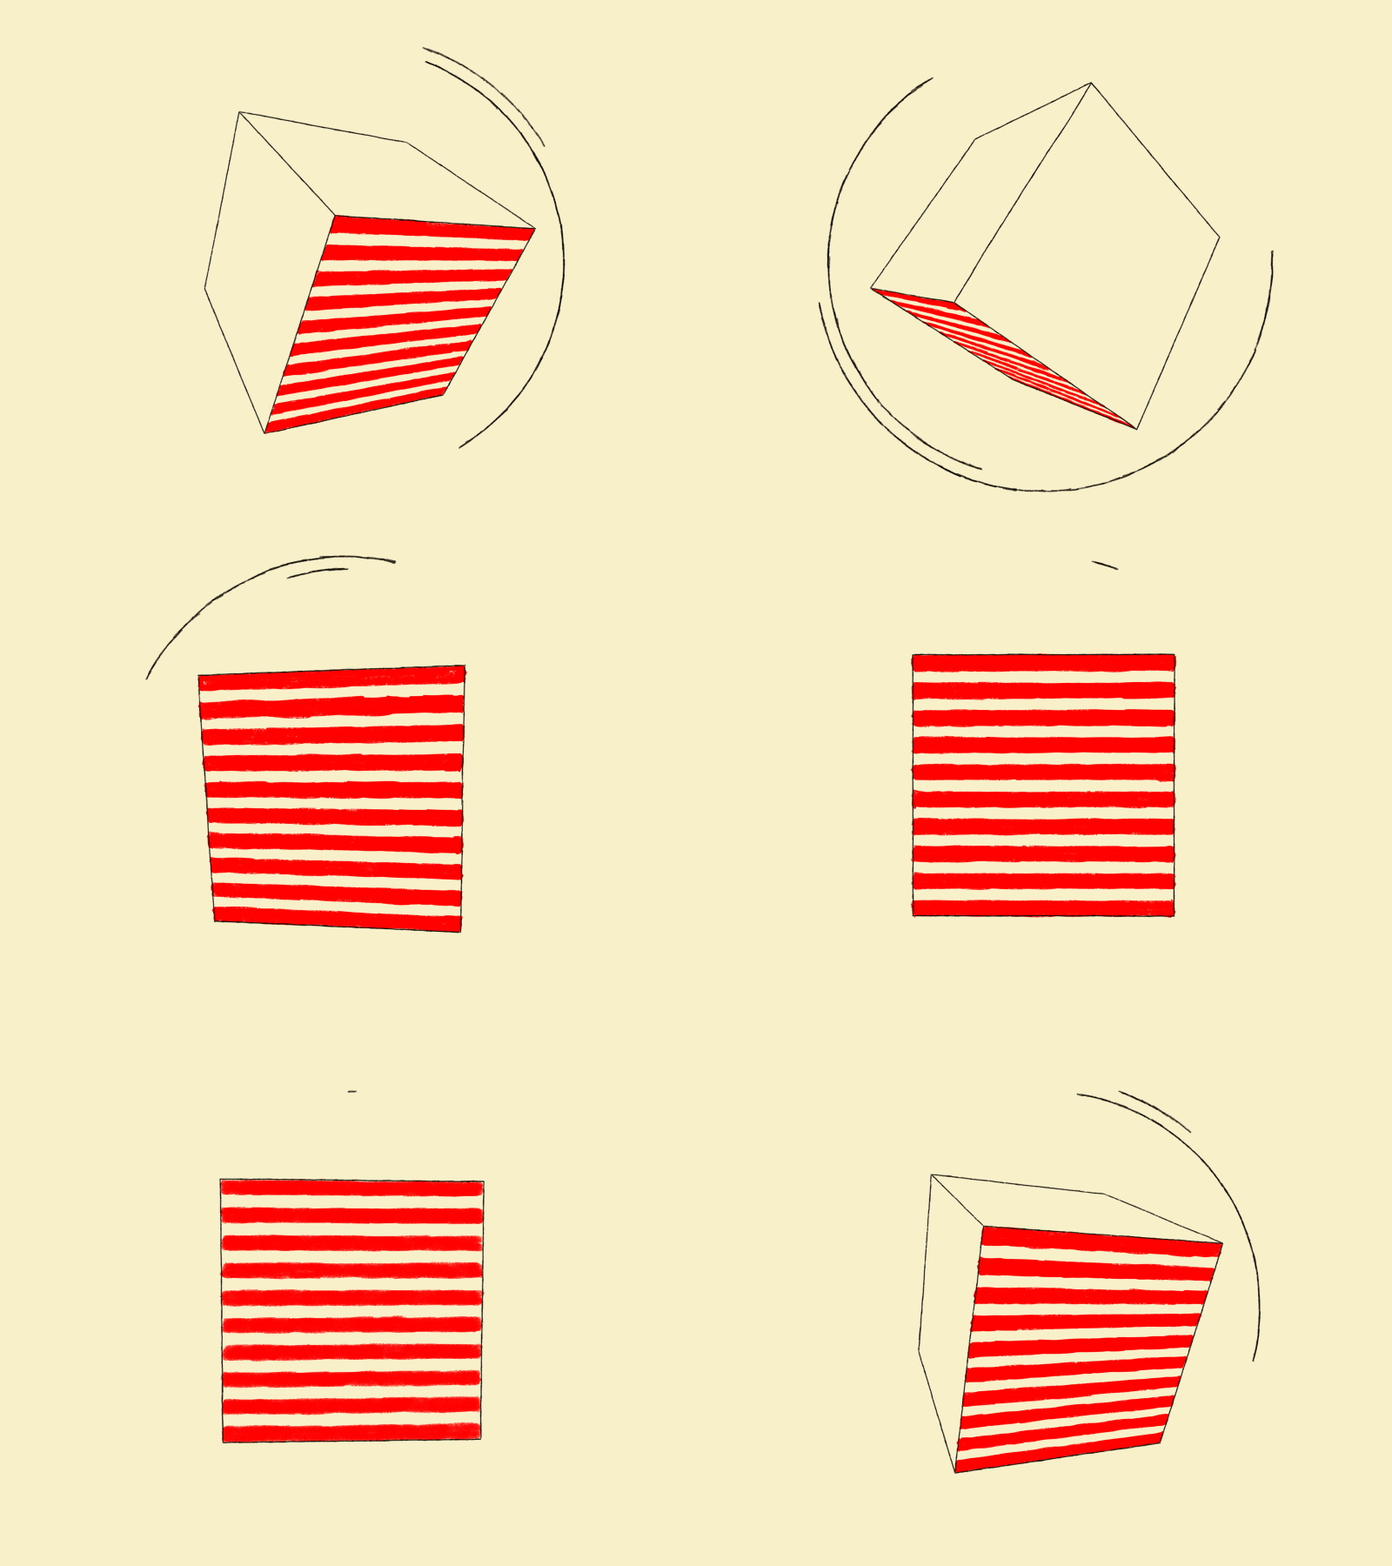
12. Appeal
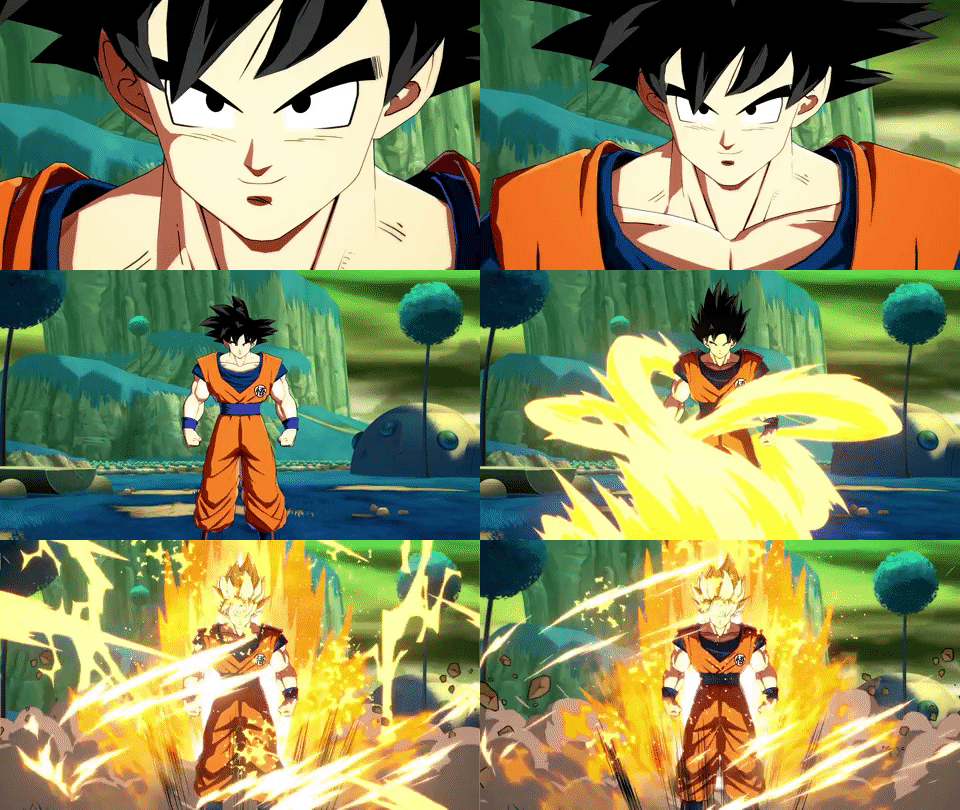
Cartoon characters’ appeal is equivalent to what an actor’s charisma might be. Appealing characters don’t have to be sympathetic; they might also be monsters or villains. It’s crucial that the spectator believes the character to be intriguing and authentic. There are many techniques for improving a character’s audience connection; for likeable characters, a symmetrical or especially baby-like face tends to work well. In the composition of the stance or character design, a convoluted or difficult to read face will not have appeal or “captivation.”
First try of ball bounce by only using keyframes on the timeline.
SECOND TRY
First, I made the path and set the frames.
Later, I gave color to the ball and added squash and stretch.

Adding Squash and Stretch
Then I added rotation to the ball.
Final Render
It has a more dynamic appearance and displays a brief bounce after combining rotations, stretching, and squash with the ball.
Week 2: The Obstacle course
We go over the basics of ball bounce and practice animation principles from week 1.
So I manually added a keyframe to squeeze and starch the ball by scaling and reducing size every time. When the ball comes close to the ground and touches the floor, I manually reduce the size of the ball by pressing the ‘R’ key on the keyboard to squeeze it, and when it bounces back, I scale the ball again to show starch.
Rig For Squash And Stretch Control
Later, I learned about the rig of bouncing balls. We already have the rig ball, and I tried to animate Squash and Stretch by using that.
Using the rig to generate moments of the ball.
Obstacle Course Animation
The next task was to design obstacles and animate them with flow; to that end, I animated a basic obstacle course.
So I design a cube and made a slope so the ball could slide through it and bounce on the platform, which I made from celinder, and pass through that ring, which is a bit narrow for the ball, and when the ball passes through that ring, it gets squeezed by the ring.
Ball that is animated with the Skeleton rig.
Assignment 1
So for the first ball, I created a football that can travel fast and has good bounce quality.
The second ball that I created was a beach ball, which is light in weight and also has a good bounce quality.
And the third ball, which I created, is a bowling ball, which is heavy in weight and has less bounce.
When I started animating these balls, I faced some problems. Such as there was no rotating as per my need, and it was really difficult for me to create an animation frame by frame. When I wanted to make the ball travel fast, it was going slow. I was getting confused about how much distance show I keep between farms to travel ball fast.
I tried to rotate the ball by deforming it and gave three curves on top, middle, and bottom. Later, I assign them scale and rotate. I don’t want to transform them, so don’t mess it up.
But it didn’t work as expected, so I decided to animate ball rotation traditionally. I rotated a ball with the rotation key (E) and keyed them when I changed the locations.
Then I created animations based on the characteristics of the ball, such as how a football travels quickly and has more volume than a beachball, which travels slowly, and how a football keeps moving in the same direction when a beachball and a football collide.
Additionally, the beach ball rotates in the air and bounces in the same spot when the bowling ball strikes its edge. Football, meanwhile, moves in the other way.
Later, I simply gave the ball and ramp texture and added lights to give it depth and make it look nice.
Final Render
Week 3: Lattice deformer, ‘Sack of flour’ and Arm Rig
This week, we took a close look at the animation rigging procedure. We began with the flour sack animation to move on. For which, to help us depict specific scenes and offer more context, we employed a rigged model of the sack.
It is also possible to move the Top Control and other controls up and down.
Demonstration of the rig’s operation.
Demonstration of the rig’s operation.
Created animation by using rig.
To create a brief animation, use Maya’s keying tools when working with the Sack of Flour rig controls. Showing weight shift and dynamic posing.
Animation videos
Later, we learned how to construct a simple hand rig out of simple poly cubes and establish a hierarchy for motion. We used Maya’s parenting tools and correctly set up the pivot to accomplish that.
Arm Rig – Base Poly cube setup
The second task, which teaches us how to create our own rig, is what we went on to next. For which we model block hand.
Afterwards, I pulled every pinpoint at the end of the blocks.
Parent all blocks that were used to make a hand and created a movement.
Animation videos
Week 4: Inverse Kinematics | Animation Output
FORWARD KINIMATICS VS INVERSE KINIMATICS
Two distinct methods are used in computer graphics, animation, and robotics to control the movement of joints in a skeletal structure: inverse kinematics (IK) and forward kinematics (FK). Gaining proficiency in FK and IK and knowing when to apply each method is essential for producing high-quality character animation in Maya. Animators can use it to balance automatic solutions and manual control according to the needs of the animation sequence.
Arm Swing Animation
Leg Rig – FK Joints
Later in the session, we built our own IK rig. We started by modeling the fundamental block legs. Next, we rigged a leg. We parented the rig to the model in order to get it to work, and we did the same for the other leg. After that, we made animation.
Moon Walk Animation
Week 5: Posing and ‘Head turn’
We used the human rig for the first time this week, and after experimenting a little, it was easy to grasp the concepts guiding its movements. Later on, in order to help the character get more accustomed to the controls, we ran an exercise where we gave them specific stances.
I used a rig character to create my first animated film, and it was really difficult to control every action. However, I found it enjoyable and a wonderful place to start when learning about the human anatomy with this character. Afterwards, we use the reference photograph to help us design the stance.
Animation videos
Render Video
Posing the character
Following that, we had to pose the model. To help us with this, we were instructed to look for reference photos that we might attempt to mimic. I chose three different reference photos and tried to mimic their movements.
I choose to execute the ninja position for my first pose.
Second pose I chose to make a dance position.
I choose to do the Spiderman posture for my third pose.
Week 6: Walk
This week, we worked on basic animation utilizing the human rig. To animate that, we referred to sources from Richard William’s book, “The Animator’s Survival Kit.”
Started with the leg animation.
completing Leg animation first
Later on, developing hand animation.
In class, we also learned about the timeline editor, which I tried out and found to be really handy for animating.
Four Key Poses for Walk Animation
Walk Animation.
WEEK 7: Walk Cycle and Weight Lift
This week, we are learning how to create animation using the timeline editor. To achieve that, first choose the Nurbs control and the next frame, then copy and paste the clip into the time editor. The stroll then has the perfect flow after selecting and changing the control.
Afterwards, I animated the head and eyes to make it look better.
Refined Walk
Ball Catch
In order to understand how to adjust timing and distance between object and model for another challenge using weight left, I attempted to animation ball catch.
I started by creating a ball, then I animated my hand and used that hand to key the ball. To become more familiar with the object, this was done as practice. This is quite challenging to complete because it takes a lot of time to animate the hand and the ball together.
Animation Video.
Refined video
Weight Lift
We learn more advanced parenting restrictions as the class goes on. wherein we learn how to use parental controls to raise an object and make an animation. I made the decision to make a realistic weightlifting animation. I start by just modeling the weights for that. I was later able to parent the character’s hands and the bar by applying restrictions. As a result, acting naturally and setting the scene with the character’s weights.
To demonstrate that my character is walking to words weight, I first created a simple walk. This allowed me to practice walk animations a little bit more. Later, my character approaches weights and stands over there.
I then attempted to create realistic weightlifting animations, in which my character approaches the weight and lift the barbell from the ground. It took a very long time to animate since I had to manage the weights and ensure that they were at the ideal distance while also looking for the right posture for leaving weight. yet, I had fun completing this work.
Later I added some facial expressions, hand gestures, and eye blinks to make it more interesting.
Trial Render
Final Animation
Week 8: Animation Reference & Rotoscoping
In animation, rotoscoping and reference are essential. Referencing entails examining actual motions or objects to produce animations that are more believable and accurate. To ensure a realistic portrayal of individuals or scenarios, animators frequently utilize reference video to capture the subtleties of motion. Conversely, animators use a process called rotoscoping to draw over live-action video frame by frame. When compared to manual animation, this technology saves time while still producing genuine movement and intricacy. When combined, reference and rotoscoping improve the realism and quality of animations, giving viewers a more engaging experience.
In the 1800s, photographer Eadweard Muybridge studied the movements of humans and animals. His books are a standard reference for animators.
Disney animators use references to create the best animations possible, so they can get the ideal emotions in their characters.
kick
This week, we have to use reference videos to animate the screen. I made an animation of a ball kick as a result. First, I used Frame Video to import frames into Maya for reference.
How to add reference videos to a Maya scene.
This is a shortcut to add reference video to a maya scene.
Test Video
Final Render
Box Lift
Later on, we animated a clip that we had brought in as part of an exercise. For that, we used a box model as a prop to show how to raise weights. It was enjoyable to use the reference. Additionally, if there is a reference clip or frame in the scene, it works fast and effectively.
Final Render
Creative Extra Short
Week 9:- Camera’s and Animatics
This week, we started working on Assignment 03, which was an animation clip lasting 11 seconds. In order to do that, we first need to understand how to combine audio in Timeline in order to animate effectively. It’s really simple. Find the speaker icon in the lower right corner of the screen once Maya has opened. Use your right mouse to select Import Audio.
Camera setup
After that, we study camera setup and focal length use to produce the best compositions. To get the finest compositions in the situation, proper camera positioning is essential.
Camera Change
Here, I experimented with camera change by using a single camera in the scene and animating its movement to create the illusion of a changing camera.
Week 10: Jump | Rig Recap
We’re learning how to make a jump animation this week. There are a few considerations, nevertheless, such the cartoon’s physical features, which ought to appear lively and realistic.
Render Video
Week 11: Camera’s & Shot Sequencing
This week, we learn more about camera settings and how to animate the camera path. In addition, I worked on my Assignment which is 11 Second Animation.
Assignment 03 Process:
I used two interacting characters to do my last assignments, which was to create an 11-second animation clip. Along with covering dialogue and facial expressions, this will display a variety of hand gestures.
Audio Used for the Assignment:
I used this audio clip for my assignment.
Reference Video for the Assignment:
I videotaped myself for reference in my animation and got good practice working independently and without relying on other individuals. I also developed a greater understanding of how facial expressions and hands-on activities play an important role in expressing current emotions through animation by filming myself.
I made the animation priority obvious by adding an audio clip to the timeline to make things easier.
After that, I began animating my character using my own reference material—a film of myself—beginning with hand gestures and moving on to facial expressions. It took a lot of time and effort for me to complete because it was challenging. I used another character in the same way.
Final Render
Week 12: Lip-Sync
This week’s lesson focused on using music to lip sync and providing characters a facial expression to convey a variety of emotions. Which part of 3D character animation is the most difficult. I have trouble keeping my lips to the rhythm and synchronizing my sounds, and I also have trouble with facial expressions. It was really difficult to time perfectly.
Render Video
Assignments
Assignment 01: Basic Weight Mechanics – Obstacle Ball Bounce
In order to make the ball bounce for Assignment 01, students need to show that they have a basic understanding of animation techniques and how a bouncing ball’s weight works. I used the squish and stretch principle, made an obstacle course for the ball, and used every skill I had previously mastered to do that.
Assignment 02: Weight Lift
For assignment 02, an animation integrating character movements and demonstrating weight mechanics and anticipation had to be made. I used certain animation principles to create a character that moved and lifted weight.
Assignment 03: 11 Second Animation
As the module’s last assignment, we were to create an 11-second animation clip that demonstrated our thorough understanding of the principles of animation. After that, I used my own example by watching my reference video, which features two different characters interacting. This displays every aspect of the animation, including the lip sink and eyebrow and eye movements. To finish the scene in a cinematic way, both manual and automatic camera movements are used.


