
━━━━━━━━━━━━━━━━━━━━━━━━━━━━━━━━━━━━━━
Assignment 1 – Portfolio of Basic Weight Mechanics
━━━━━━━━━━━━━━━━━━━━━━━━━━━━━━━━━━━━━━
Assignment 2 – Portfolio of Character Animation [Extension til 2nd of June 2025]
Flour Sack Poses
Pose 1 – Casual Sitting Down


Pose 2 – Scared Jump


Pose 3 – Sad


Tom & Jerry Poses
Pose 1


Pose 2


Pose 3


Tom – Infinite Walk Cycle
Walk Animation
Heavy Box Lift
Heavy Weight Lift Animation
Kick Animation
Ball Bounce in hand (Constraints)
━━━━━━━━━━━━━━━━━━━━━━━━━━━━━━━━━━━━━━
Assignment 3 – The 11 Second Club Animation [Extension til 2nd of June 2025]
Final Result:
Reference (3:08 – 3:28) – Tom & Jerry Chase
This is the part of the sequence which I will be referencing:
—
Development:
For this assignment, I’ll be using the Tom & Jerry rigs created by XXXXX. Prior to starting, I spent some time practicing with the Tom rig, specifically working on a walk cycle animation. That experience helped me become more comfortable with the rig, so I feel more confident going into this project. Hopefully, using different rigs won’t be too overwhelming, as I’ve already built a bit of familiarity with the tools.

Tom & Jerry rigs
I begin by downloading the YouTube video clip I want to animate and importing it into Adobe After Effects. Using the rotoscoping techniques we’ve covered in lectures, I export the footage as a Targa sequence, ensuring the file names follow the correct format for Maya—specifically using a three-digit frame numbering system (e.g.,
Frame###).Once the sequence is ready, I open Maya and create a plane, to which I apply a Lambert material. In the material settings, I navigate to the Base Color and click the arrow to load a texture file. I select the first frame of my Targa sequence and make sure to enable “Use Image Sequence”.
This setup provides an in-scene reference for my animation, which is incredibly helpful for this assignment—especially since animation isn’t my strongest area. Having this visual guide will significantly support my workflow and improve the accuracy of the movements.
I divided the entire animation into three distinct sequences to maintain a clear and organized workflow:
- The first sequence shows the characters running.
- The second captures them stopping as the light turns red.
- The third depicts them preparing to launch into a chase again.
To stay on top of the process, I animated each sequence one at a time. For each segment, I began by animating Tom running in place. I started by blocking out the leg movements, followed by the arms. Once Tom’s base animation was in place, I moved on to Jerry, blocking out his leg and arm movements as well.
With the rough blockout complete for both characters, I was then able to focus on refining the finer details—such as hand gestures, finger positioning, and facial expressions—to bring more life and nuance to the animation.
As a final step, I selected their controls and moved the characters across the scene. Initially, all animations were created in place, which made it easier to adjust and refine the motion before integrating it into the full scene.
━━━━━━━━━━━━━━━━━━━━━━━━━━━━━━━━━━━━━━
Week 1 – Introduction to the module
Character animation
Character animation is the process of bringing characters to life through movement, expression, and personality. It is a crucial aspect of storytelling in animation, video games, films, and other media. Animators use principles of motion, timing, and performance to create believable and engaging characters that resonate with audiences. Character animation can be divided into several types, each with its own techniques, styles, and applications.
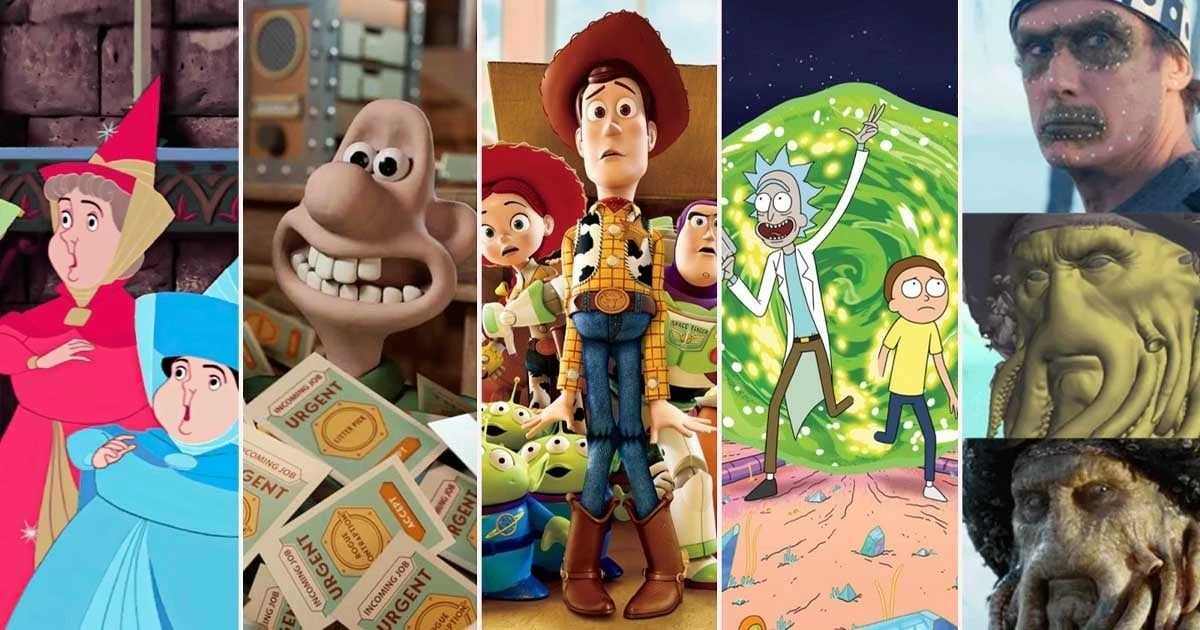
Different types of character animation
- 2D Animation (Traditional Animation)
- This is the classic form of animation, where characters are drawn frame by frame on paper or digitally.
- It relies heavily on the principles of squash and stretch, anticipation, and follow-through to create fluid and expressive movements.
- Examples: Disney’s The Lion King, Tom and Jerry, and Studio Ghibli films like Spirited Away.
- 3D Animation (CGI Animation)
- 3D animation involves creating characters in a digital 3D space using software like Maya, Blender, or ZBrush.
- Animators manipulate rigged models (skeletons with controls) to create movement, facial expressions, and interactions.
- This type of animation is widely used in films, video games, and simulations.
- Examples: Pixar’s Toy Story, Frozen, and Avatar.
- Stop Motion Animation
- Stop motion involves physically manipulating real-world objects or puppets and photographing them frame by frame to create the illusion of movement.
- Characters are often made of clay, silicone, or other materials, and animators painstakingly adjust their poses for each frame.
- Examples: Wallace and Gromit, Coraline, and The Nightmare Before Christmas.
- Motion Capture (MoCap)
- Motion capture involves recording the movements of real actors using sensors or markers and applying that data to a digital character.
- This technique is often used for realistic human or creature animations in films and video games.
- Examples: The Lord of the Rings (Gollum), Avatar, and The Last of Us video game series.
- Procedural Animation
- Procedural animation uses algorithms and rules to generate movement automatically, rather than animating by hand.
- It is often used for complex or repetitive motions, such as crowd simulations or natural phenomena.
- Examples: Flocking behavior in birds (e.g., Finding Nemo), physics-based animations in video games.
Key Principles of Character Animation
Regardless of the type, character animation relies on core principles to create believable and engaging performances:
- Squash and Stretch: Adds flexibility and weight to movements.
- Timing and Spacing: Controls the speed and rhythm of actions.
- Anticipation: Prepares the audience for an action (e.g., winding up before throwing).
- Follow-Through and Overlapping Action: Ensures movements feel natural and fluid.
- Exaggeration: Enhances emotions and actions for dramatic or comedic effect.
- Appeal: Makes characters visually interesting and relatable.
Class Tasks
Pendulum Swing
Different Types Of Bouncing Balls
For this task, we were challenged with animating different types of balls using keyframe animation along with squash and stretch techniques. To add complexity, each ball was made of different materials, meaning their physics varied—requiring unique approaches to their movement.
To achieve a balance between exaggeration and realism, we needed to study reference footage from animations and apply those insights to our objects.
Reference:
-
Tennis Ball https://youtu.be/GIRqYz_hnkQ?feature=shared
-
Basket ball https://youtu.be/ZvgJ7mVxeg0?feature=shared
-
Beach Ball https://youtu.be/EDcsZ9P6GOM?feature=shared
Boucing Ball Arcs
Bouncing Ball Hitting A Wall
For our homework assignment, we was tasked with animating a ball bouncing, hitting a wall, and being thrown over. Thanks to the knowledge I gained in previous tasks, I decided to animate the ball bouncing over multiple walls before hitting one and rebounding back to its starting position.
I aimed to exaggerate its motion and inject some personality while maintaining a degree of physical accuracy. To achieve this, I used keyframe animation along with squash and stretch techniques, combining motion editing trials and the graph editor to refine the movement.
Final Result:
━━━━━━━━━━━━━━━━━━━━━━━━━━━━━━━━━━━━━━
Week 2 –
Cubby Animation
Ball obstacle course
━━━━━━━━━━━━━━━━━━━━━━━━━━━━━━━━━━━━━━
Week 3 – Posing
Hand Posing Exercise
- First of all, I name the parts of the hand
- Before parenting, freeze and reset all transforms
- Set up the hierarchy and parent the objects
- I put the pivot of each object where the joints would be on a real hand
3 Diferent Poses
Waving Arm


Walking Robot Legs On Stairs
━━━━━━━━━━━━━━━━━━━━━━━━━━━━━━━━━━━━━━
Week 4 –
Luxo Jr.
Bag of Flour Expressions
Forlone
Casual
Surprised
━━━━━━━━━━━━━━━━━━━━━━━━━━━━━━━━━━━━━━
Week 5 – Character Posing
Today in class we covered Character Posing and the role it plays in 3D animation. Dynamic posing is essential for conveying motion, emotion, and storytelling. A well-constructed pose can communicate a character’s intent and energy in a single frame. Whether animating a leap, a sprint, or a moment of stillness, applying the following principles ensures that each pose is clear, expressive, and believable.
1. Clear and Readable Silhouette
A strong silhouette is the foundation of a dynamic pose. It should be instantly recognizable and communicate the action without relying on internal details. When blocking out key poses, animators should regularly check the silhouette—flipping the view or squinting can help identify unclear or overlapping shapes that may obscure the action.
2. Strong Line of Action
The line of action is an imaginary curve that runs through the character’s body, guiding the flow of energy. It helps establish the overall rhythm and direction of the pose. Starting with a clear line of action allows the animator to build poses that feel fluid and intentional, enhancing the sense of motion.
3. Asymmetry
Symmetrical poses often appear stiff and unnatural. Asymmetry introduces a sense of realism and dynamism, making the character feel more alive. This can be achieved through variations in limb positioning, torso twists, or head tilts. Asymmetry also helps convey weight shifts and tension, which are crucial for believable animation.
4. Exaggerate
Exaggeration is a key principle in animation. By pushing poses beyond realistic limits, animators can emphasize a character’s emotions and actions. This doesn’t mean distorting anatomy, but rather enhancing the intent behind the movement—such as deepening a crouch before a jump or stretching limbs during a sprint.
5. Weight Distribution
Every pose should reflect how gravity affects the character’s body. Understanding where the weight is placed—whether on one foot, mid-air, or leaning forward—adds realism and believability. Animators should ask: Is the character balanced? Is the pose grounded or in motion? Adjusting the pose to reflect accurate weight distribution is essential for physical credibility.
Class Exercise: Flour Sack Poses
Homework Exercise: Tom & Jerry Poses
For these exercises, I decided to use a rig of Tom by Artem Dubyna: https://temaroots.gumroad.com/l/Tom

Tom poses reference
Pose 1 – Mid Chase


Pose 2 – Sudden Stop In Chase


Pose 3 – Preparation To Chase Again


━━━━━━━━━━━━━━━━━━━━━━━━━━━━━━━━━━━━━━
Week 6 – Character Walk Cycle

Walk Animation with ElevenRig
1. Blocking Out The Walk
I began by moving the hips first, not the legs. I wanted to make sure the movement felt driven from the center of gravity, so I shifted the hips forward to set the direction and momentum.
Once the hips were in motion, I then positioned the legs to follow and support that movement. This helped me block out the overall walk rhythm more naturally, rather than having the legs dictate the motion.
2. Passing and Contact Poses
Next, I moved into refining the walk by focusing on the passing position. When one leg overtakes the other (around frame 15 and 25), I lifted the passing leg to show that transition clearly.
At the same time, I added a slight lift in the hips during the passing pose to create a sense of bounce and give the walk a bit more energy. This also helped convey the character’s weight shifting naturally.
3. Weight Shift and Rotation
On those same key frames (15 and 25), I added a weight shift in the hips and torso. I rotated the body slightly toward the leg that was bearing weight at the time. This added a more believable sense of balance and body mechanics to the motion.
4. Upper Body Animation
For the arms, I mirrored the movement relative to the legs, so the opposite arm would swing forward with the leading leg. Here’s how I broke it down:
At the beginning of the cycle, I brought the leading arm slightly forward and upward, leaning it in the direction the character is moving.
As the walk approached frame 20, I rotated the arm backward and downward roughly 90 degrees, so it appeared to hang naturally behind the body.
On frame 15 (during the passing pose), I moved the arm slightly outward so it wouldn’t intersect with the body mesh.
I then mirrored this movement on the other side for the second arm.
To add extra detail and realism, I animated the hands: closing them when they swing forward and opening them slightly as they swing back.
5. Polishing the Legs
To give the legs a bit more life, I added a toe lift between frames 10 and 15. This gave the foot a more natural movement during the push-off and added to the overall believability of the stride.
Final Touches – Variations
After finalizing the walk cycle, I created two variations:
Walk with Head Turn: I animated the head turning slightly during the walk to give the character more personality and to make the walk feel less robotic.
Walk with Head Turn & Blink: I added subtle blinks timed with the body rhythm, which helped bring the character to life and made the performance feel more polished.
Overall, I focused on leading the motion with the hips and layering in detail from the ground up. By taking it step by step—from blocking to polish—I was able to keep the character grounded while also making the motion feel dynamic and natural.
Walk
Walk & Head Turn
Walk, Head Turn & Blink
For my home exercises, I decided to use a rigs of Tom & Jerry by Artem Dubyna.
- Tom: https://temaroots.gumroad.com/l/Tom
- Jerry: https://temaroots.gumroad.com/l/jerry
Head Turn – Tom
Head Turn – Jerry
Walk Cycle – Tom
1.
2.
3. Bring the body back up. the right leg up and rotate so its hanging 90 degrees. The left leg is left standing on the ground as before.


Walk Cycle – Jerry
━━━━━━━━━━━━━━━━━━━━━━━━━━━━━━━━━━━━━━
Week 7 – Lifting Weights
Heavy Object Pick Up
Heavy Weight Pick Up
Ball bounce in hand
=